Thursday, October 23rd 2014
Say hi to Adobe Flash! We met a new software today. And we have some introduction of Flash.
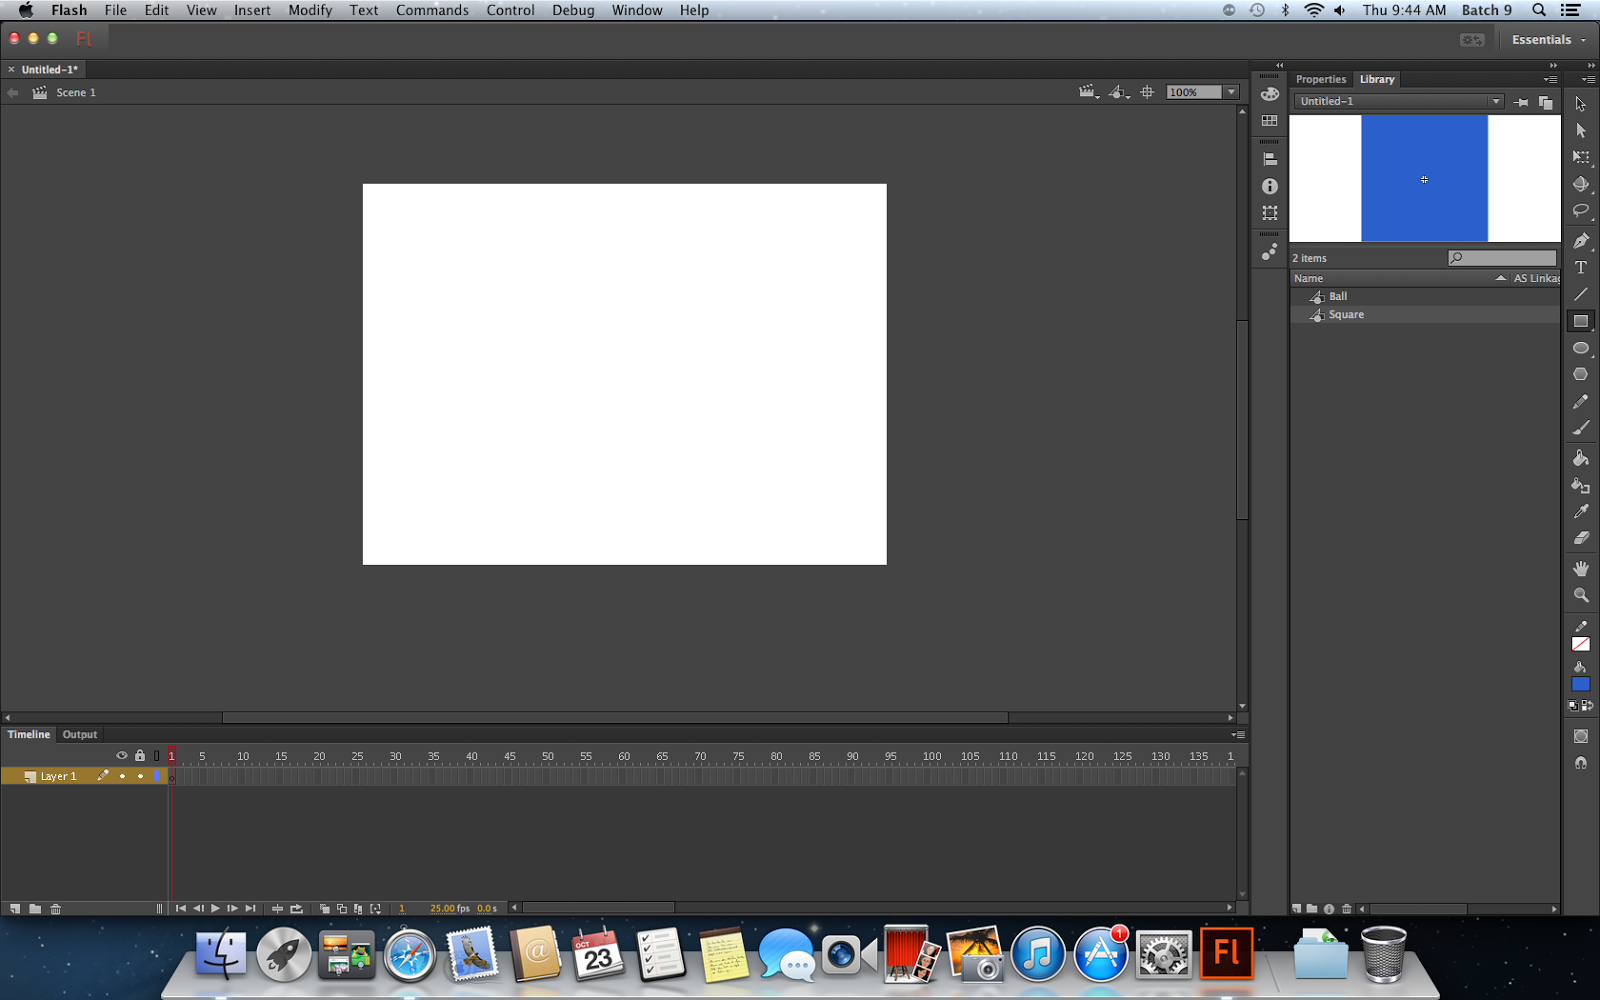
INTRODUCTION TO FLASH
FIRST WAY
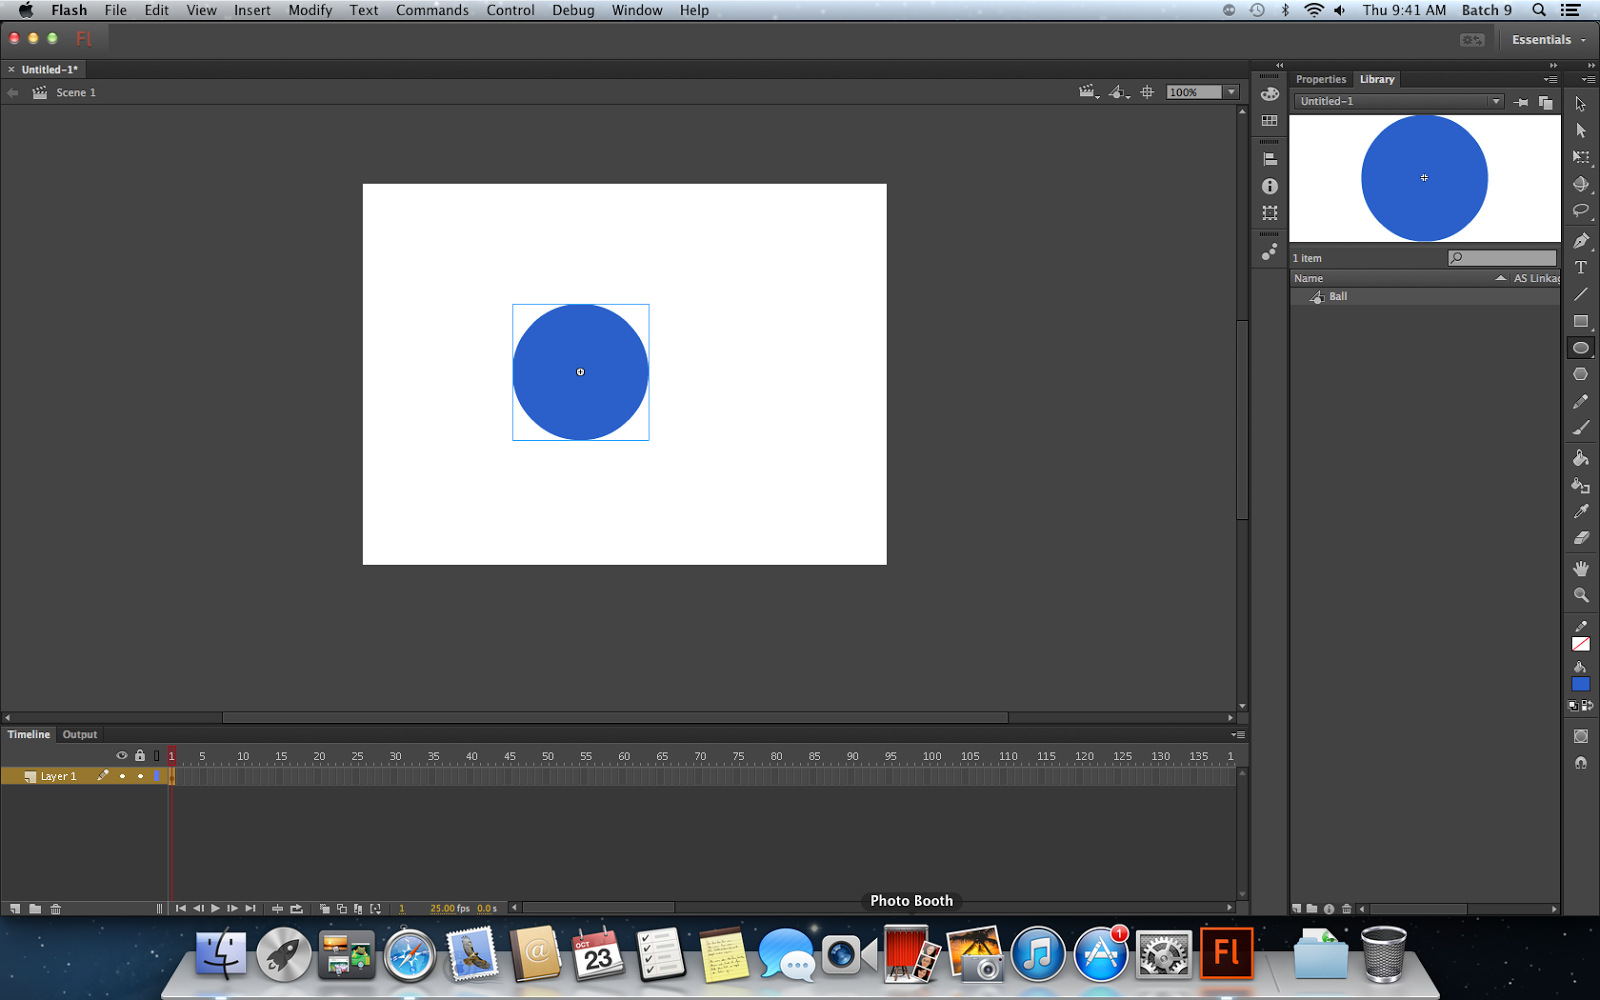 |
| The object is done! |
 |
If you already make it to the library, you don't have to worry because library still has the object.
|
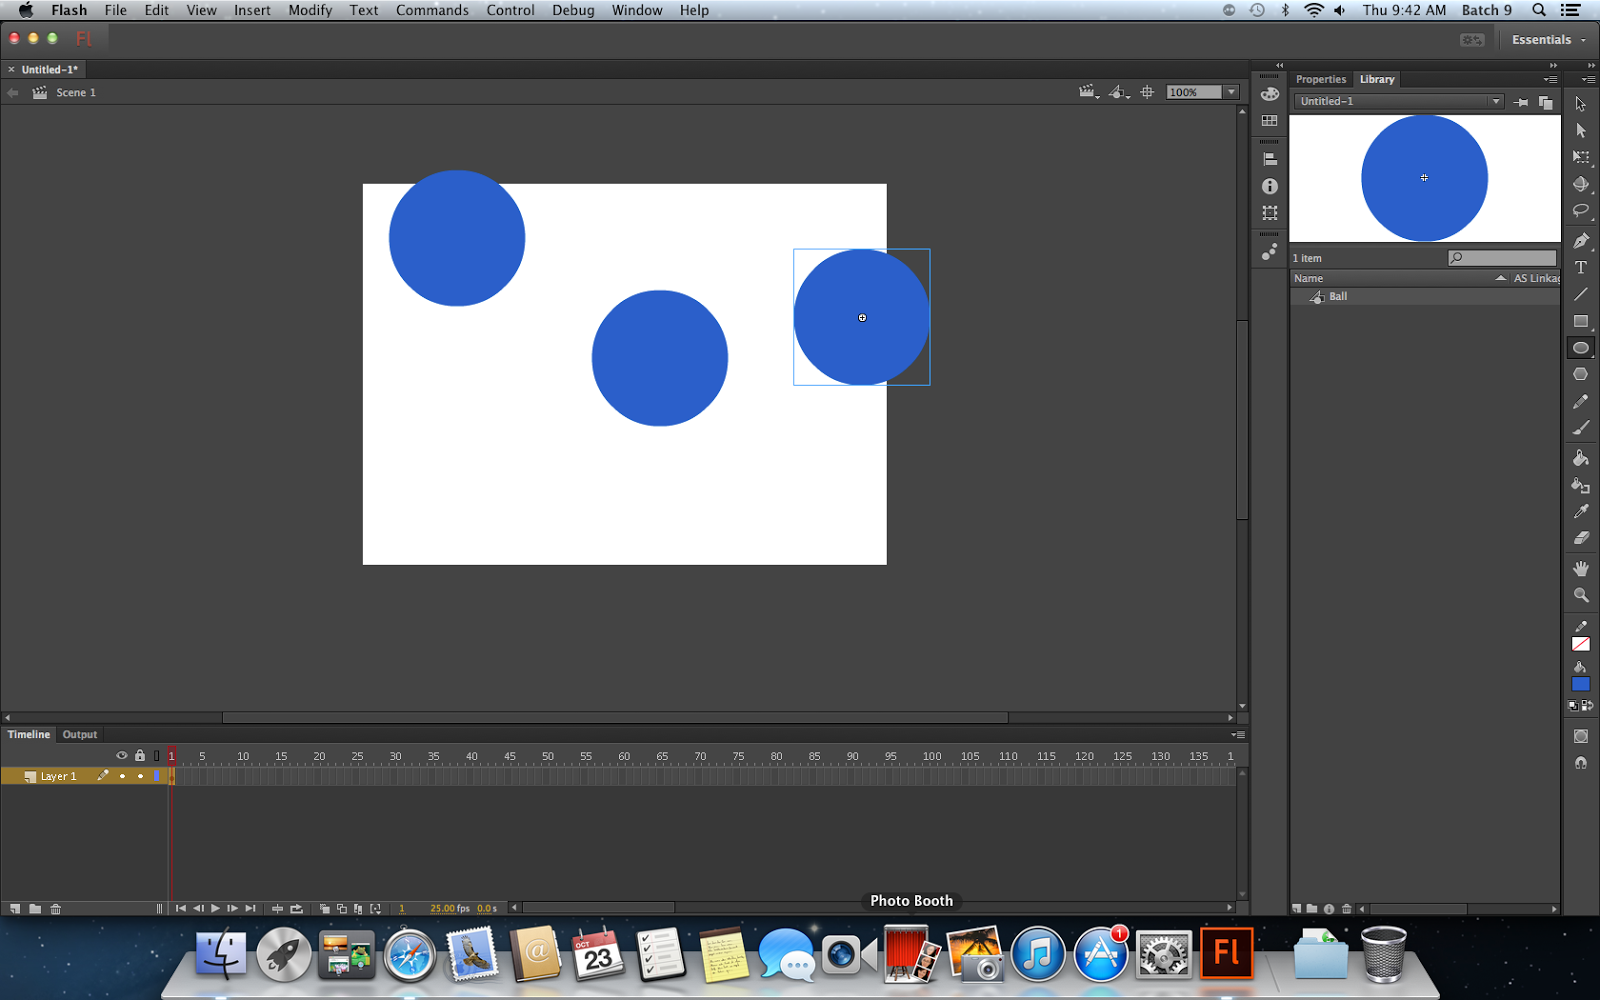 |
| You can drag the object from the library. |
SECOND WAY
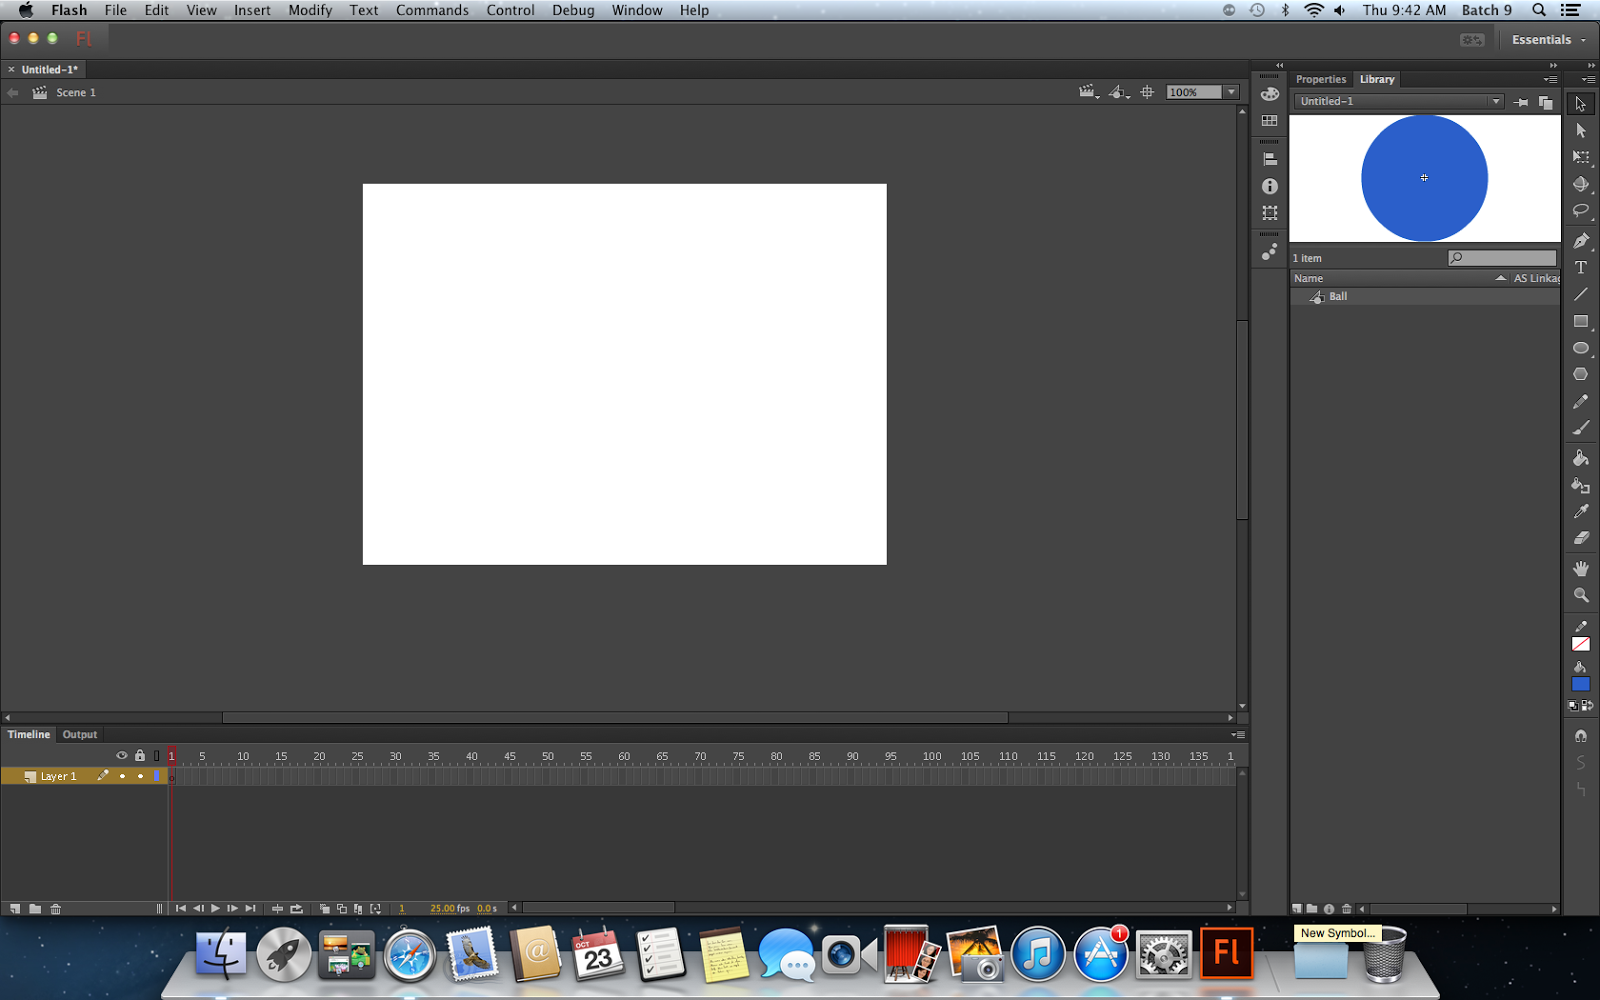 |
| Click New Symbol on the button |
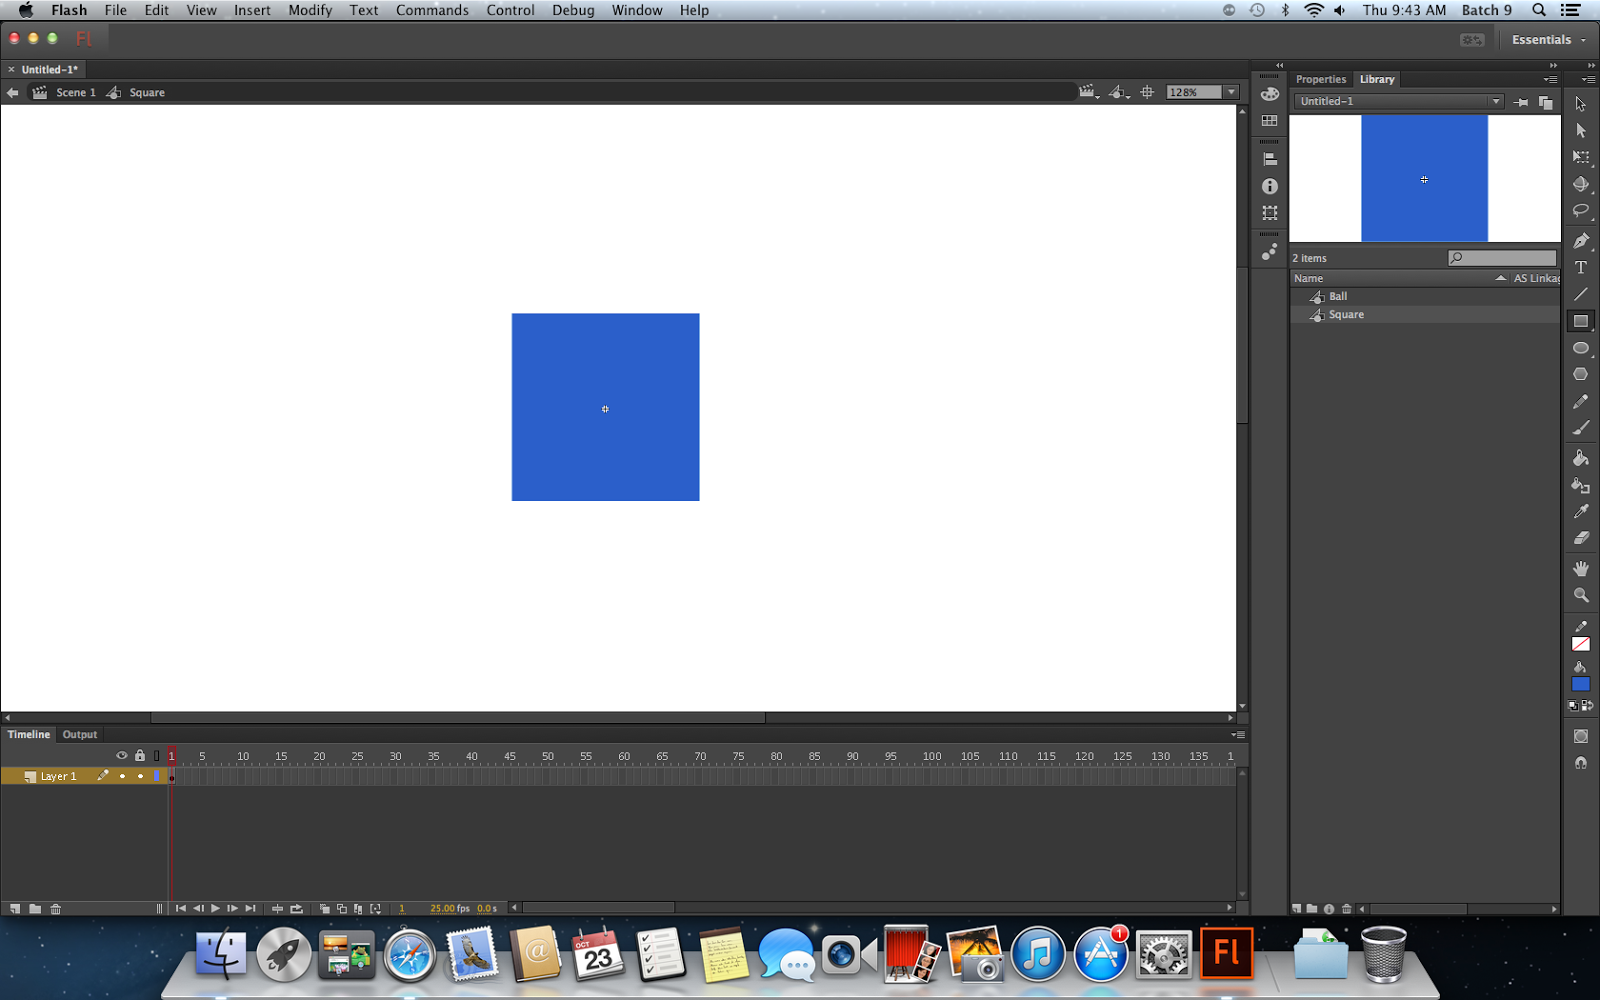 |
| Make the symbol |
 |
| It won't appear on your screen but you can drag it! |
First try!
Animation:
 |
| Final result! |
EXERCISE 1
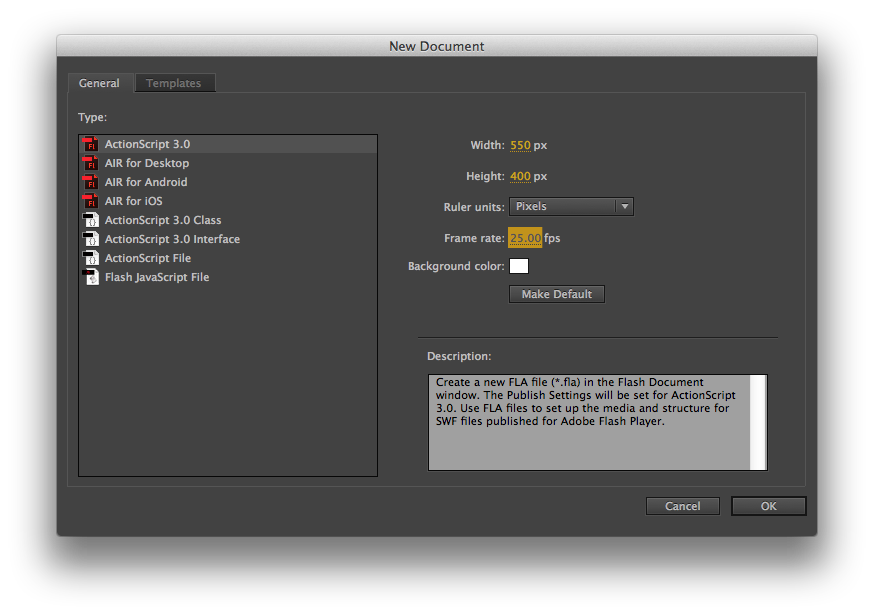 |
| Create a new file, don't forget to change the frame rate. |
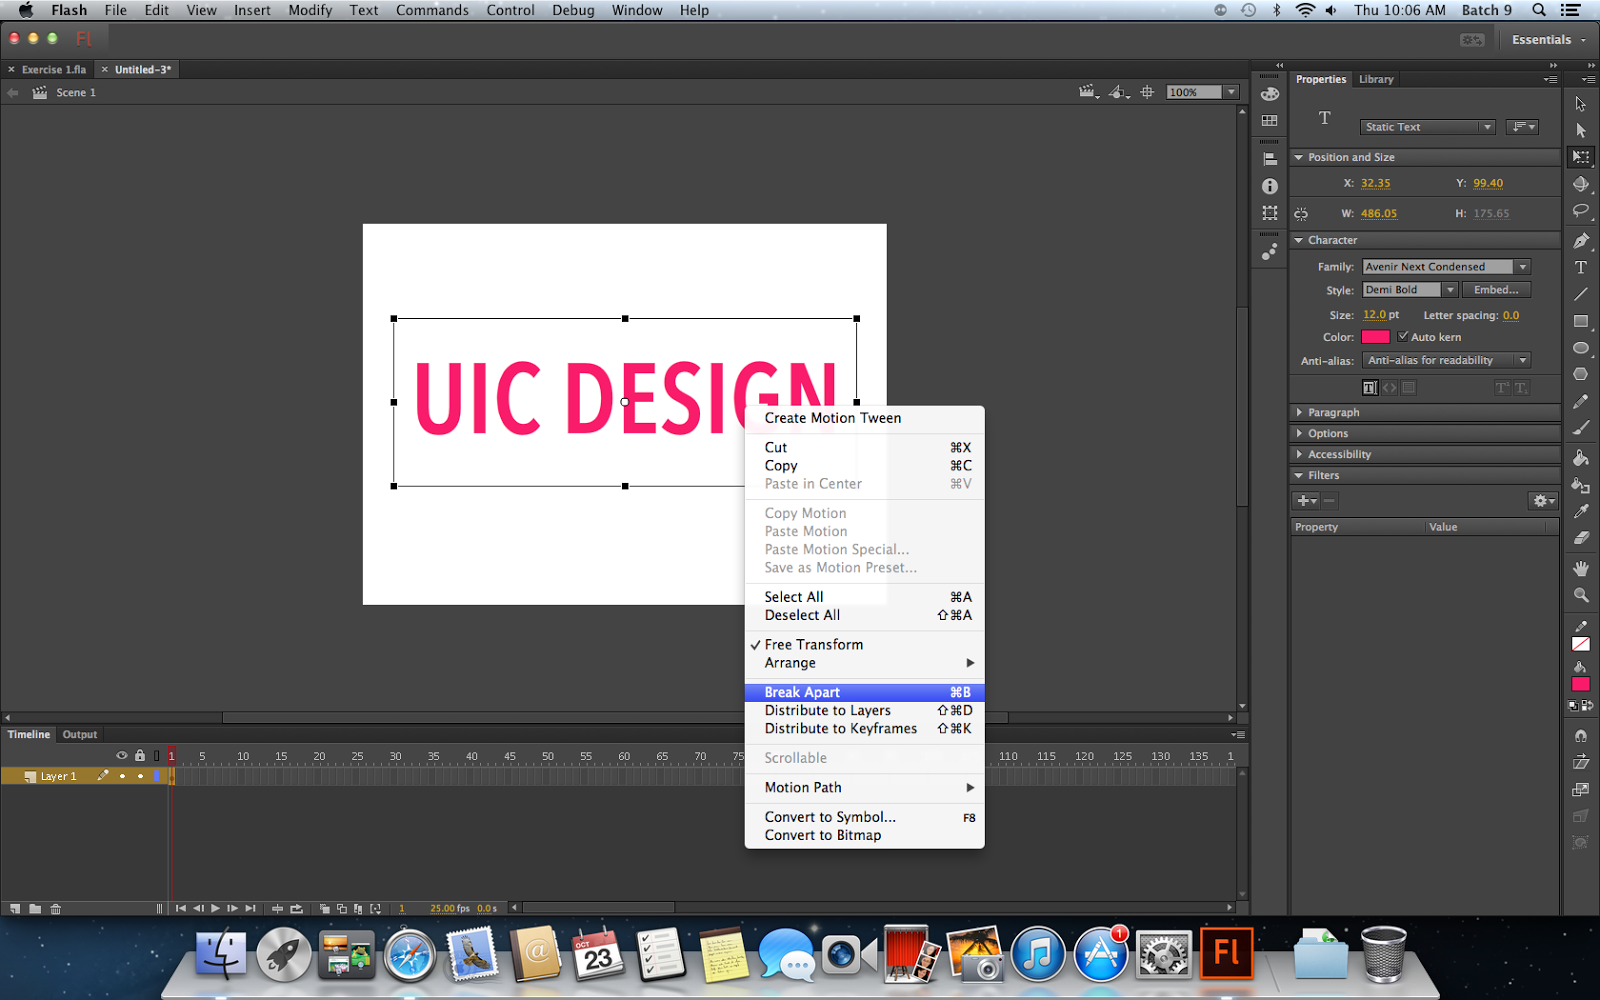 |
| Make the text, and break apart. |
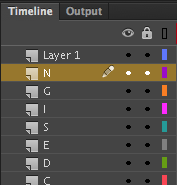 |
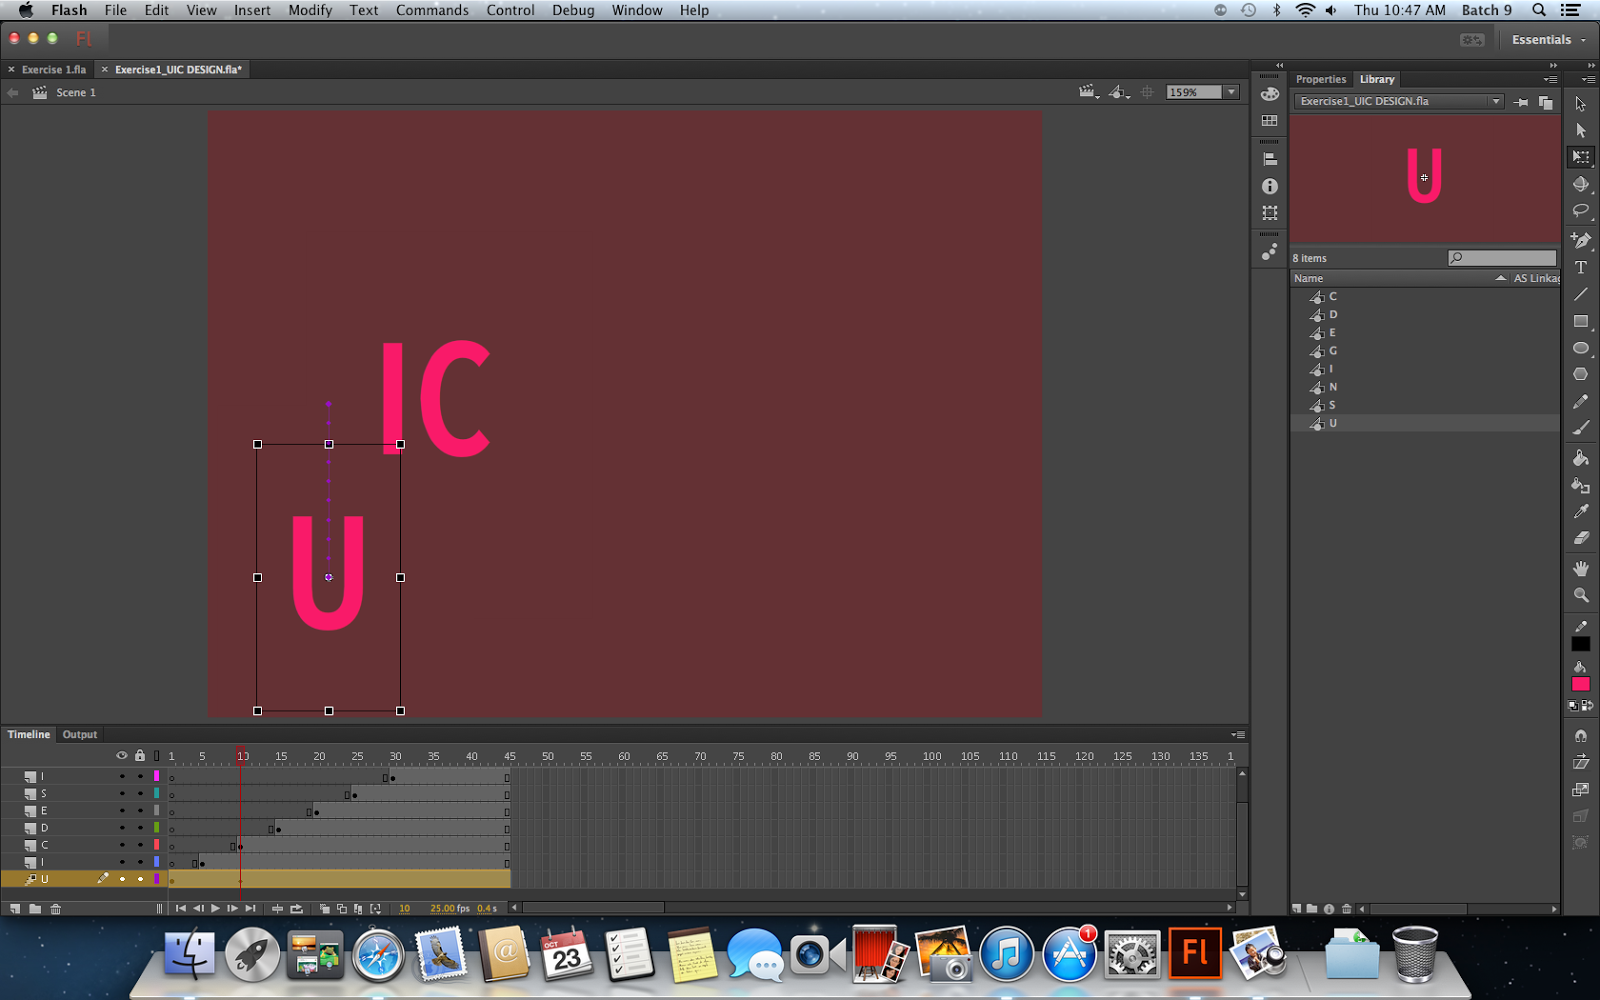
| It appears some layers after you click distribute to layers. |
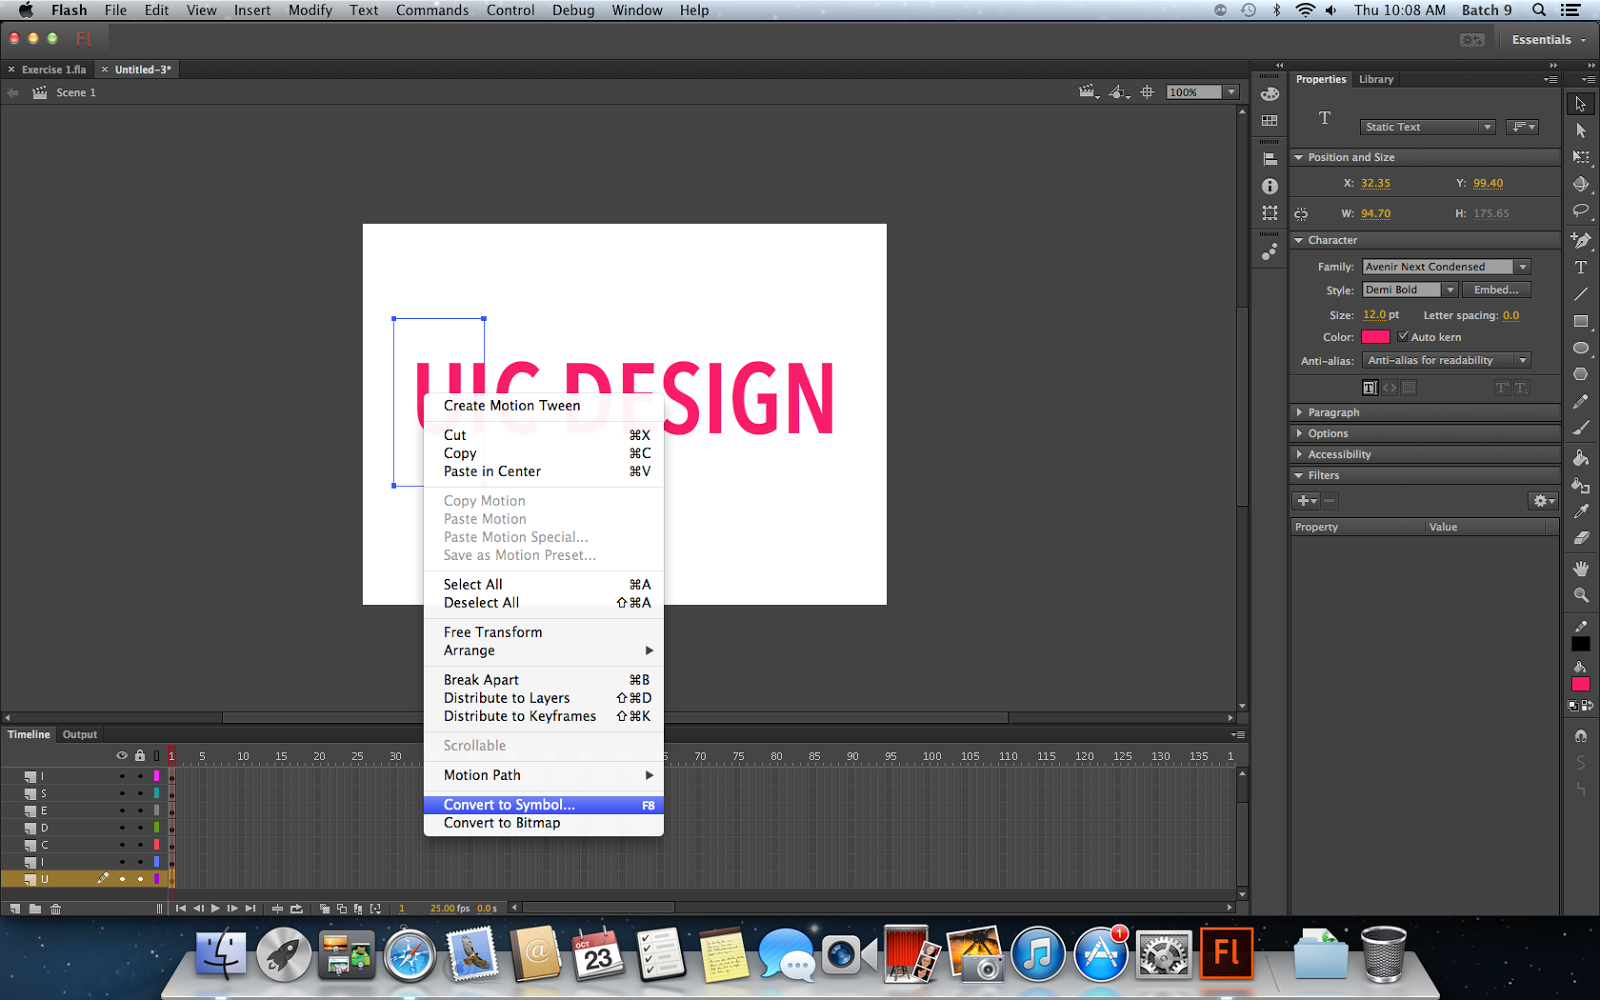 |
| Make each letter become one symbol |
 |
| Make a duration. The challenge is each letter will appear after 5 frames! |
 |
| I made it more playful by changing the stage colour :) |
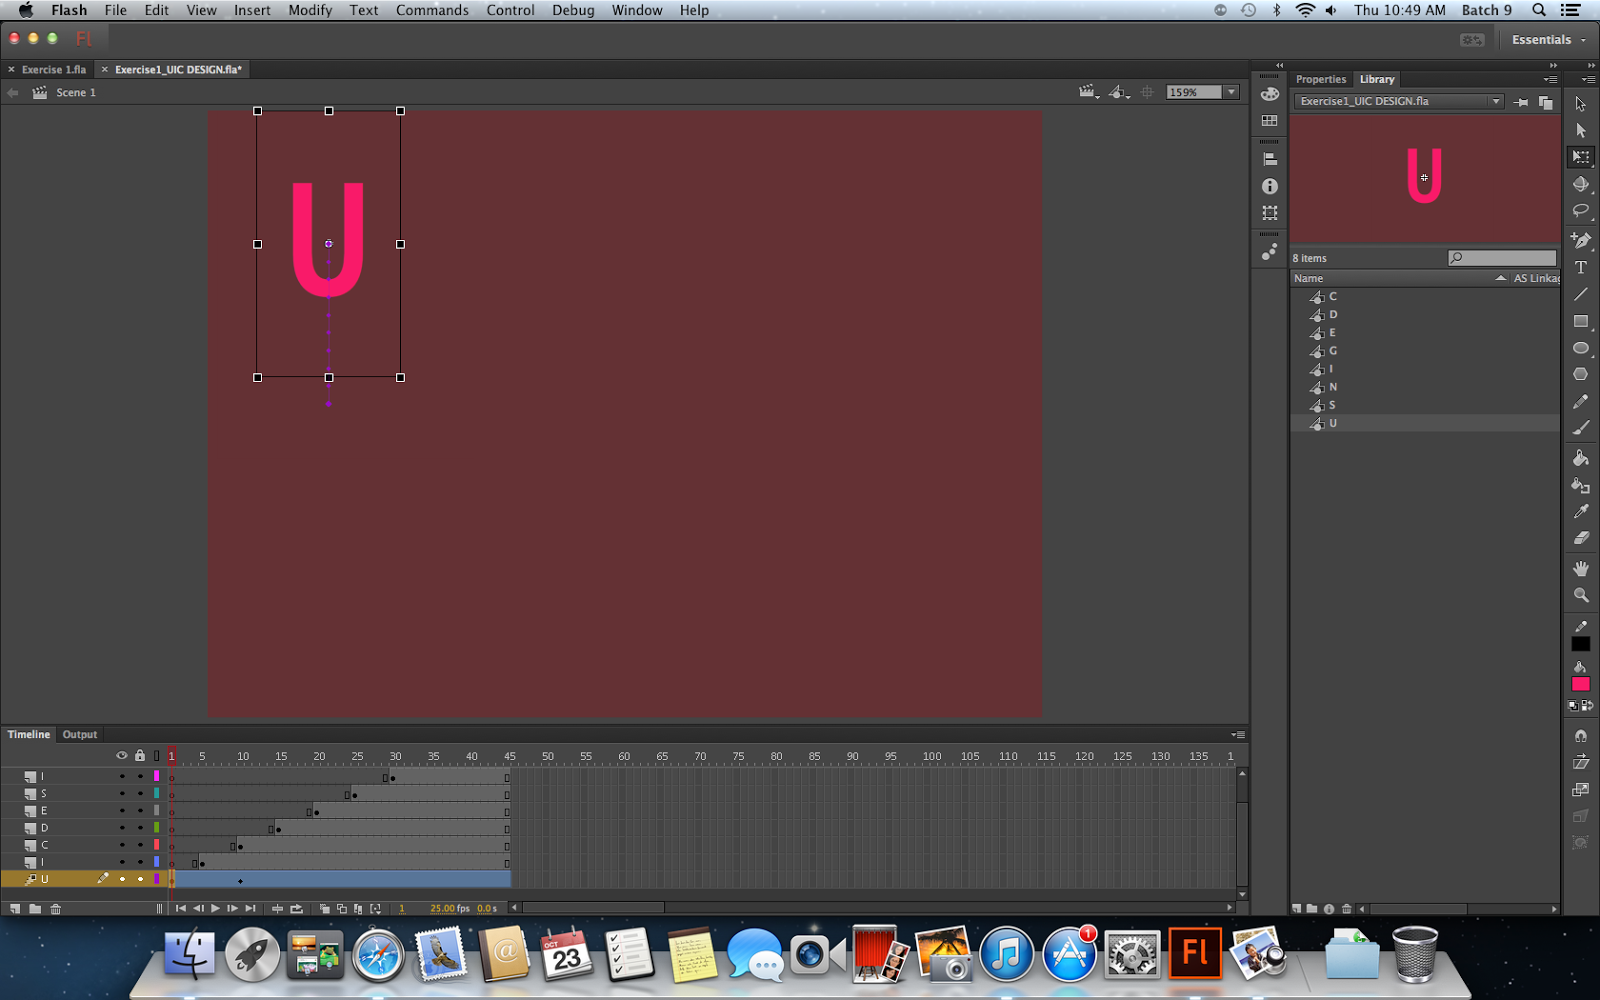
Let's make it more interesting by having the Motion Tween!
 |
| Instert the Key Frame by pressing F6 |
 |
| I want to make it moving down so just simply dragging the U. |
 |
| I try another motion. This time, I want the U starts on the top and ends on the middle. So, on the first keyframe, I drag the U to the top. |
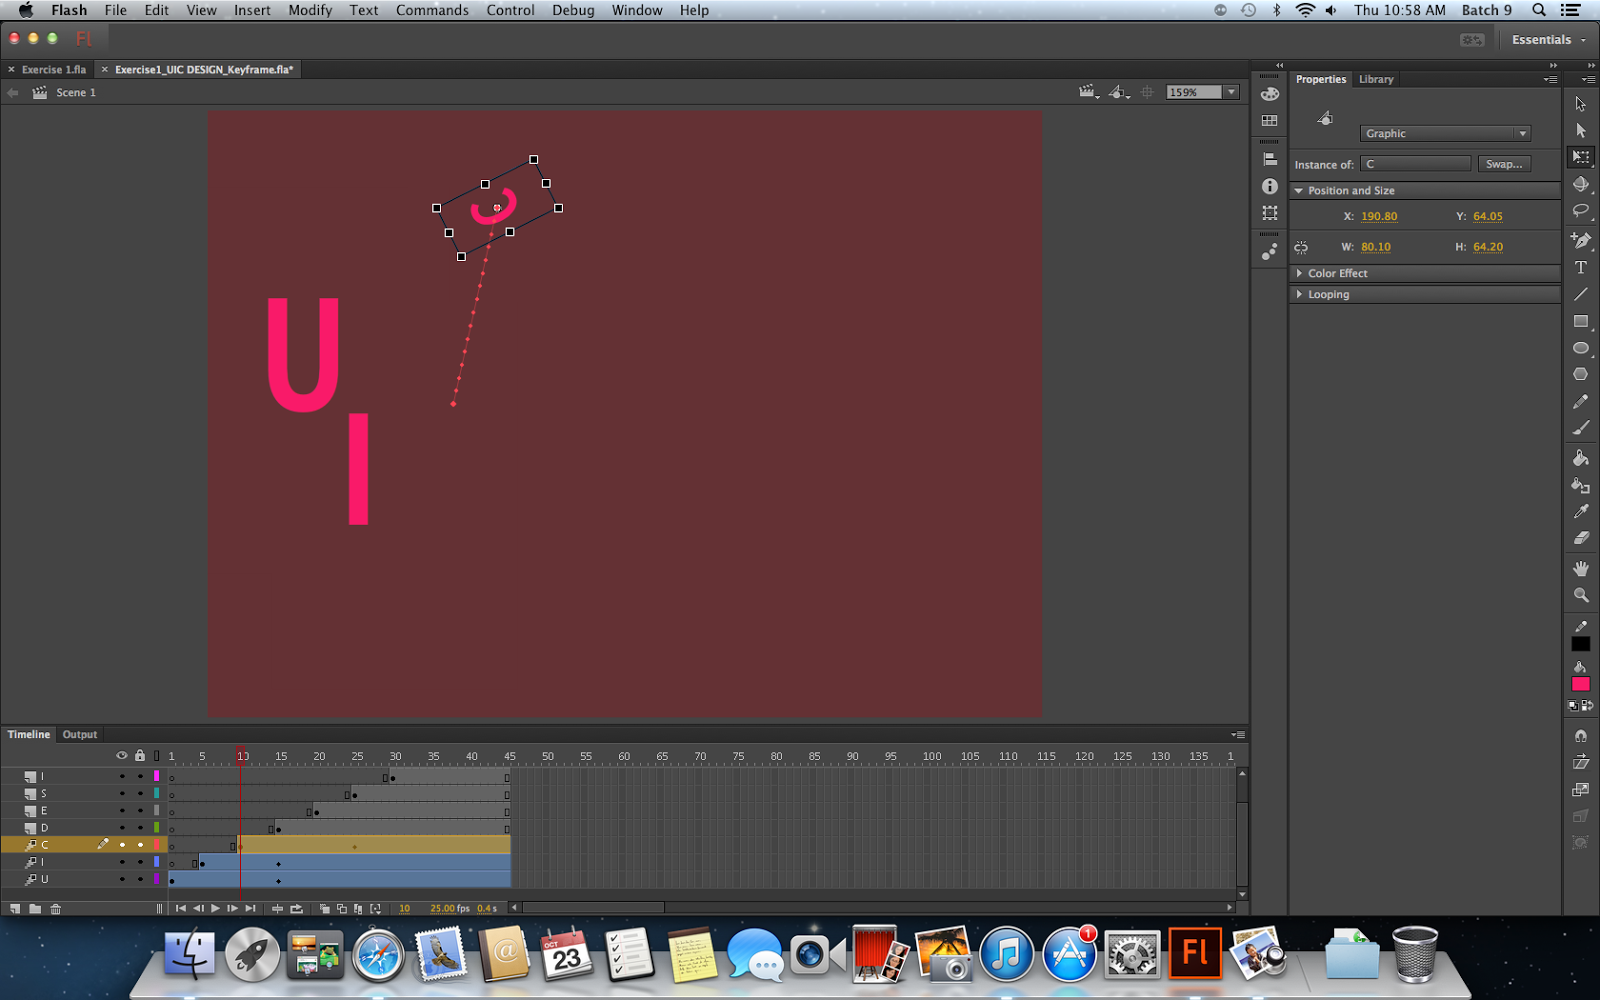 |
| Motion tween is not only by changing the placement. You can also make a change on colour, rotation, size, and many more. |
EXERCISE 2: Bouncing Ball
 |
| You can adjust the arc by using Convert Anchor Point Tool |
|


No comments:
Post a Comment