Friday, October 17th 2014
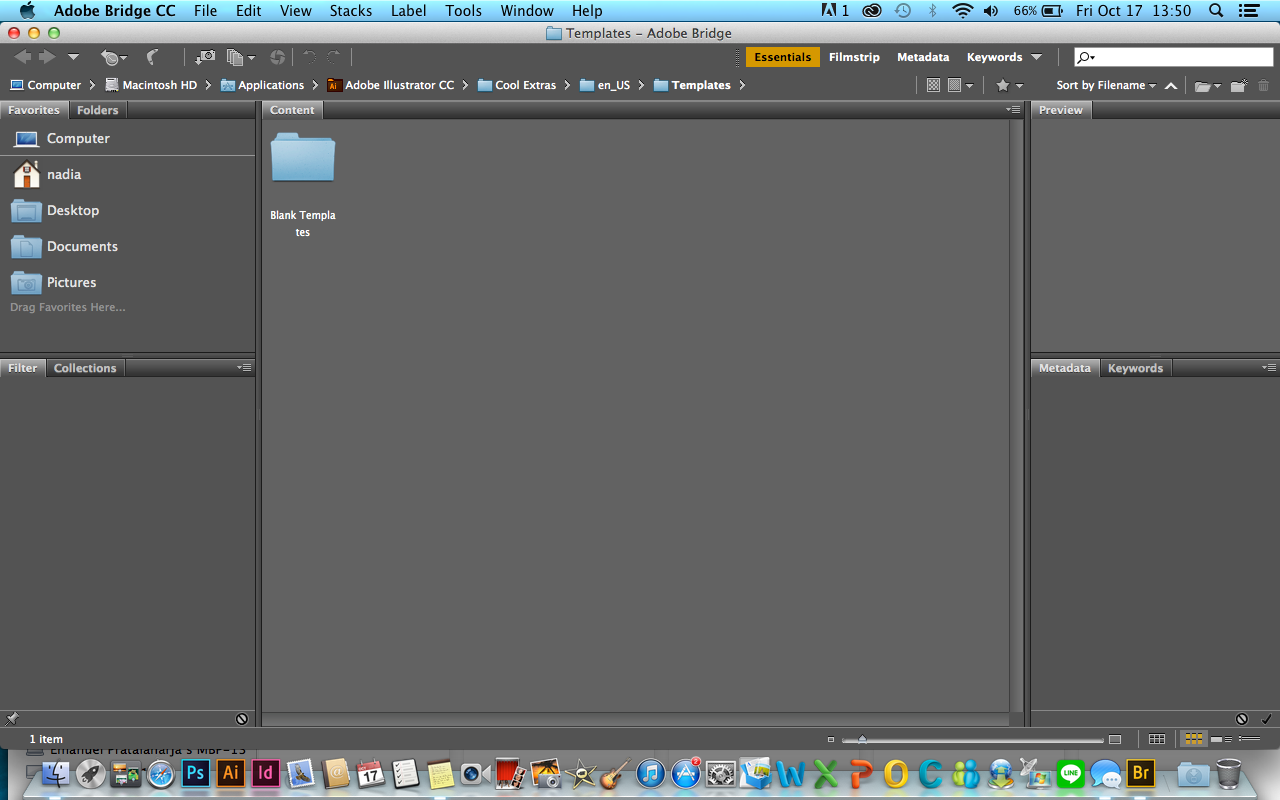
ADOBE BRIDGE
Do you know that you can access your files on Adobe Bridge? Definitely you can! In Adobe Bridge you can see the detail of your files. For example for photo, you can see the ISO, file name, file type, etc. Try yours! ;)
 |
| So, I want to open my file for the exercises. |
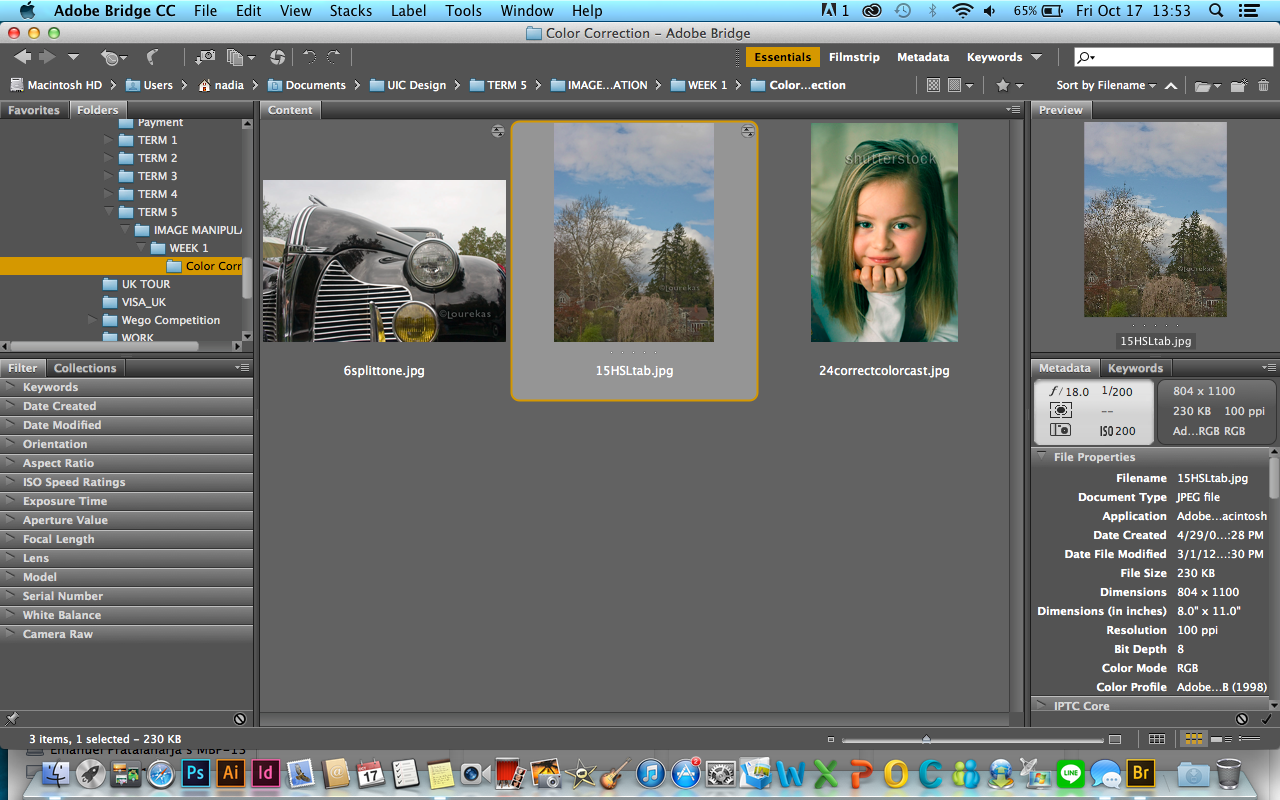 |
| See! You can see the detail of your photo on the Metadata |
COLOUR CORRECTION
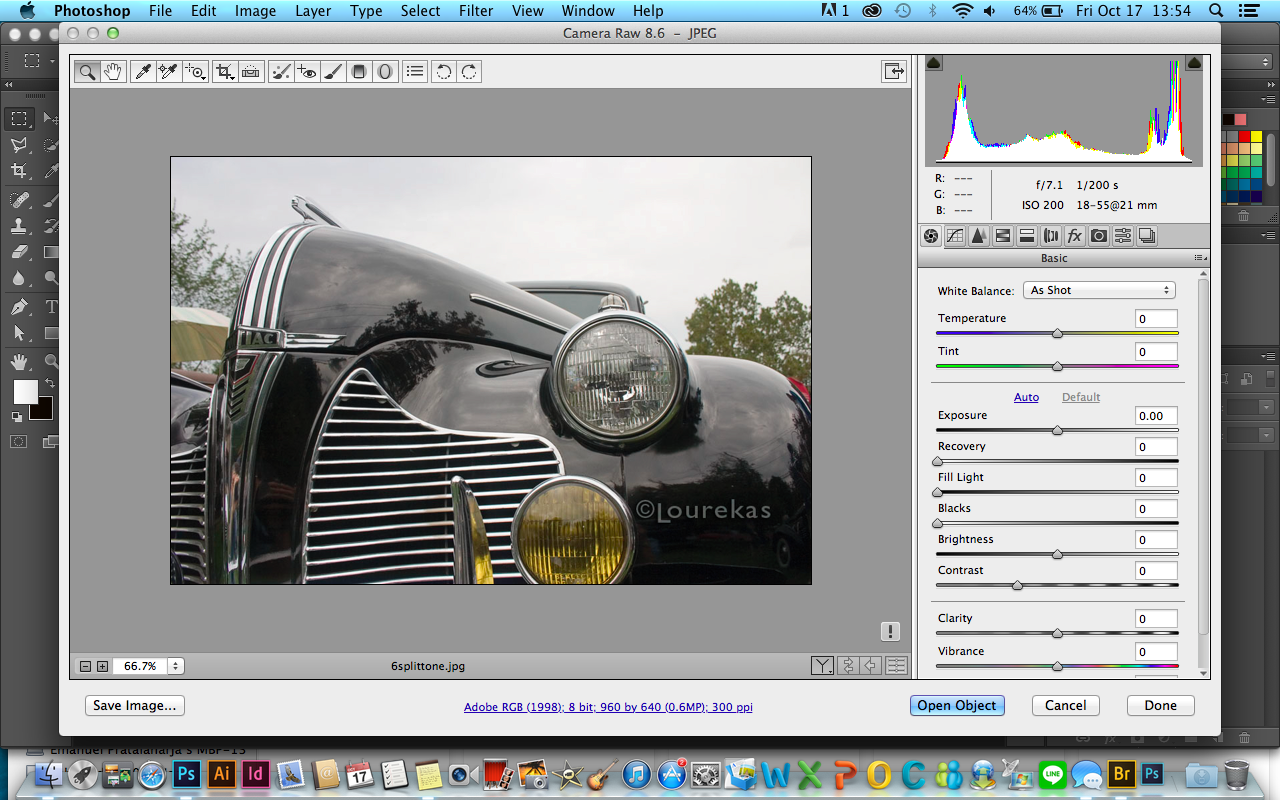 |
| So I opened this file. When you double click on Adobe Bridge, it will automatically open the Adobe Photoshop. Because the file type is RAW, it will appear like this on Photoshop. |
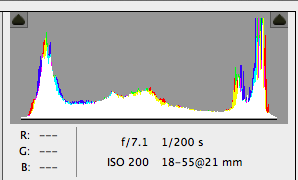 |
| When the graph is look like the letter u or n, it means that you have a good photo lighting :) |
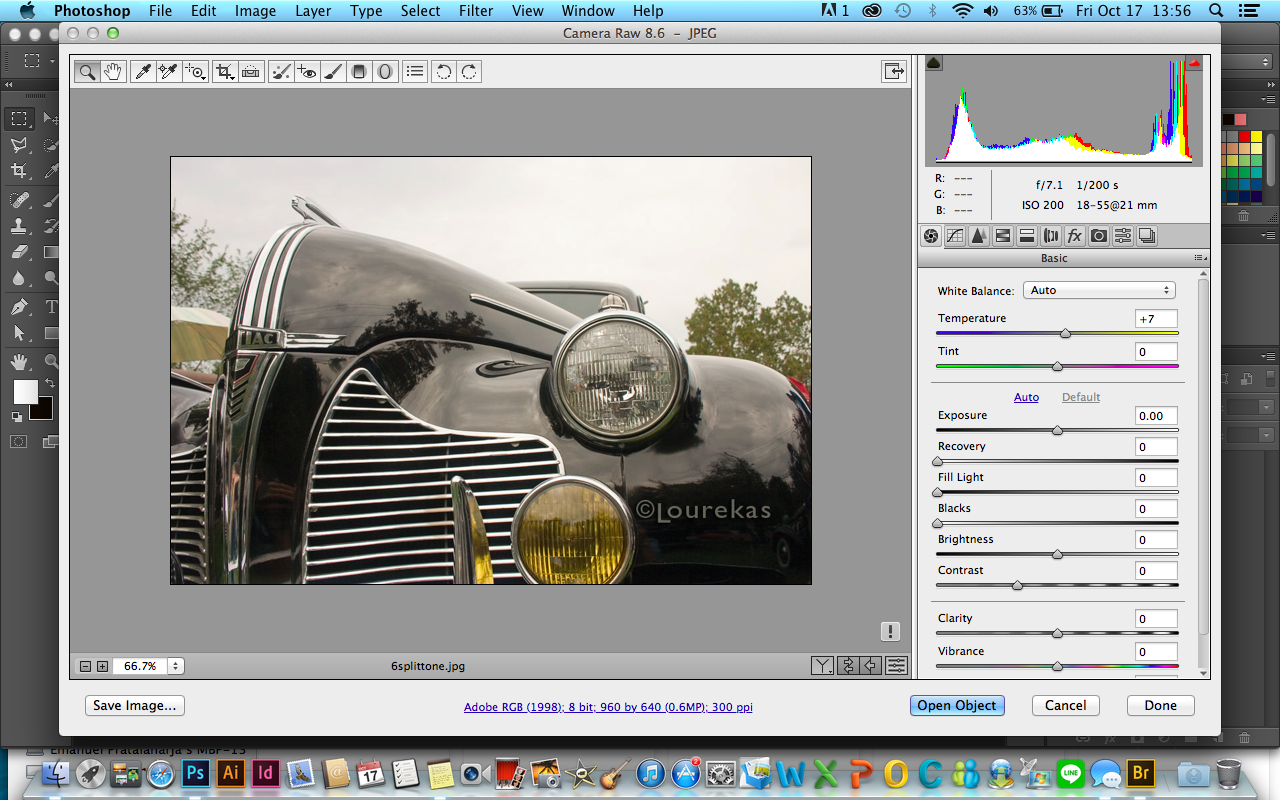 |
| I tried to adjust the light |
The comparison:
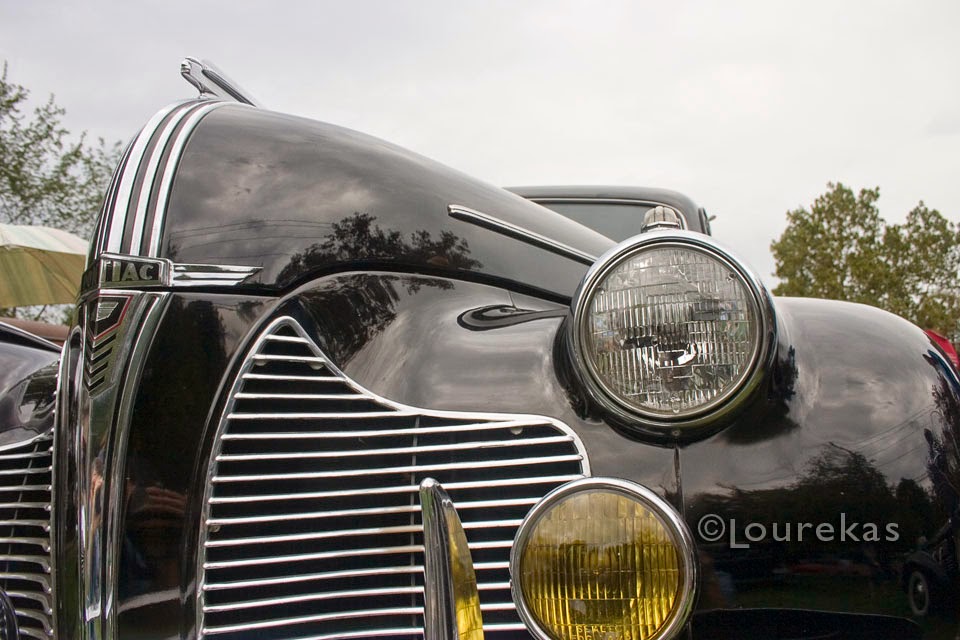 |
| Before |
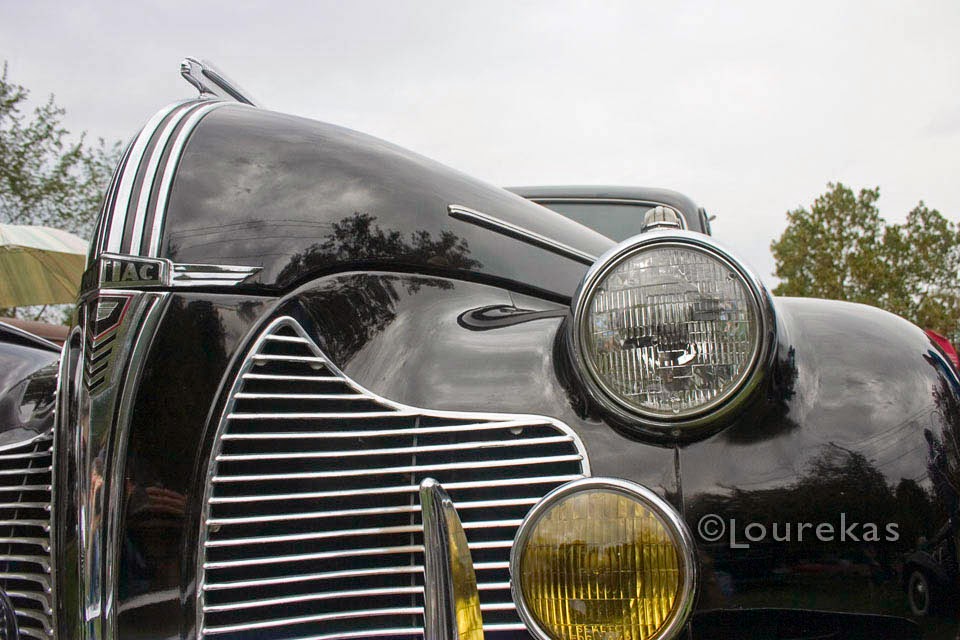 |
| After |
 |
| Adjusting the hue |
 |
| Before adjusting the saturation |
 |
| After adjusting the saturation |
 |
| Before adjusting the luminance |
 |
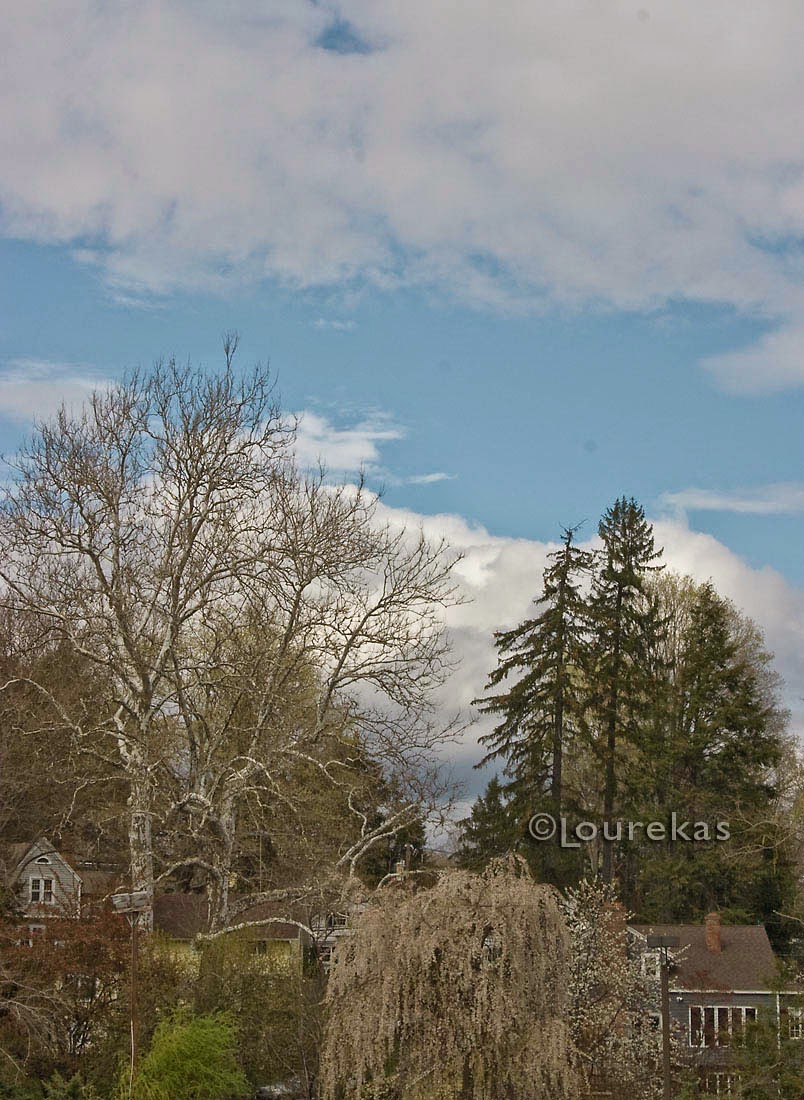
| After adjusting the luminance |
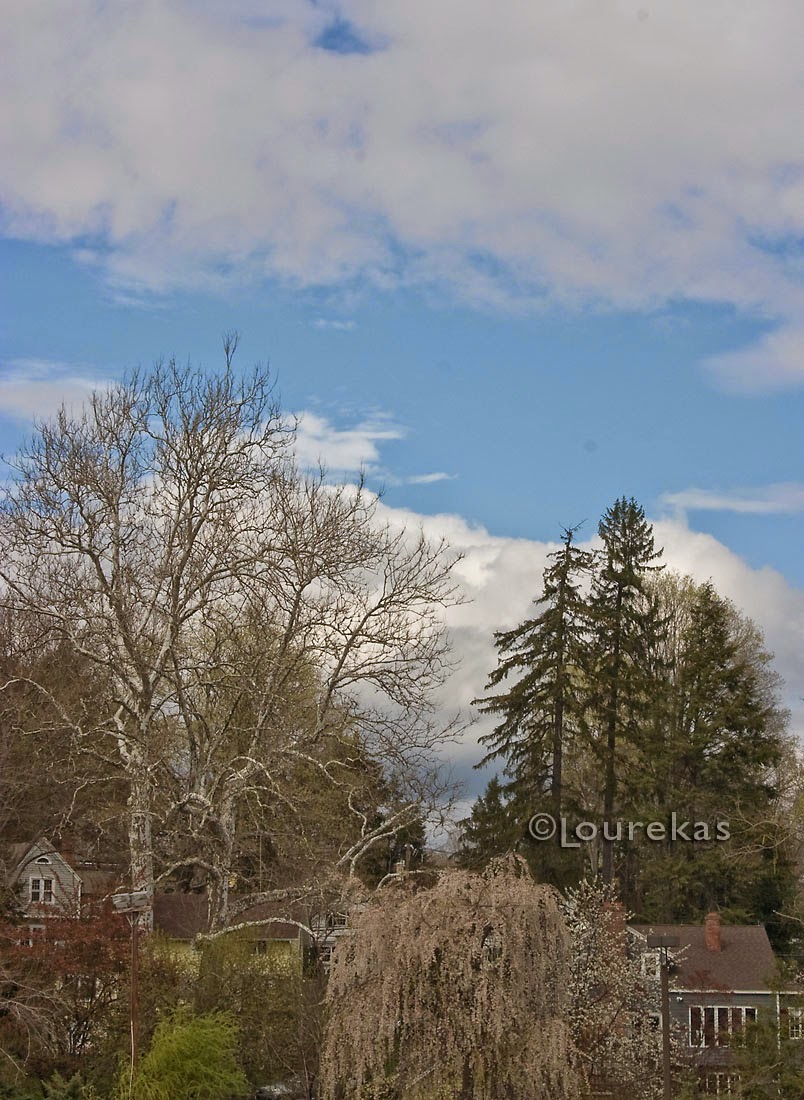 |
| Before |
 |
| After |
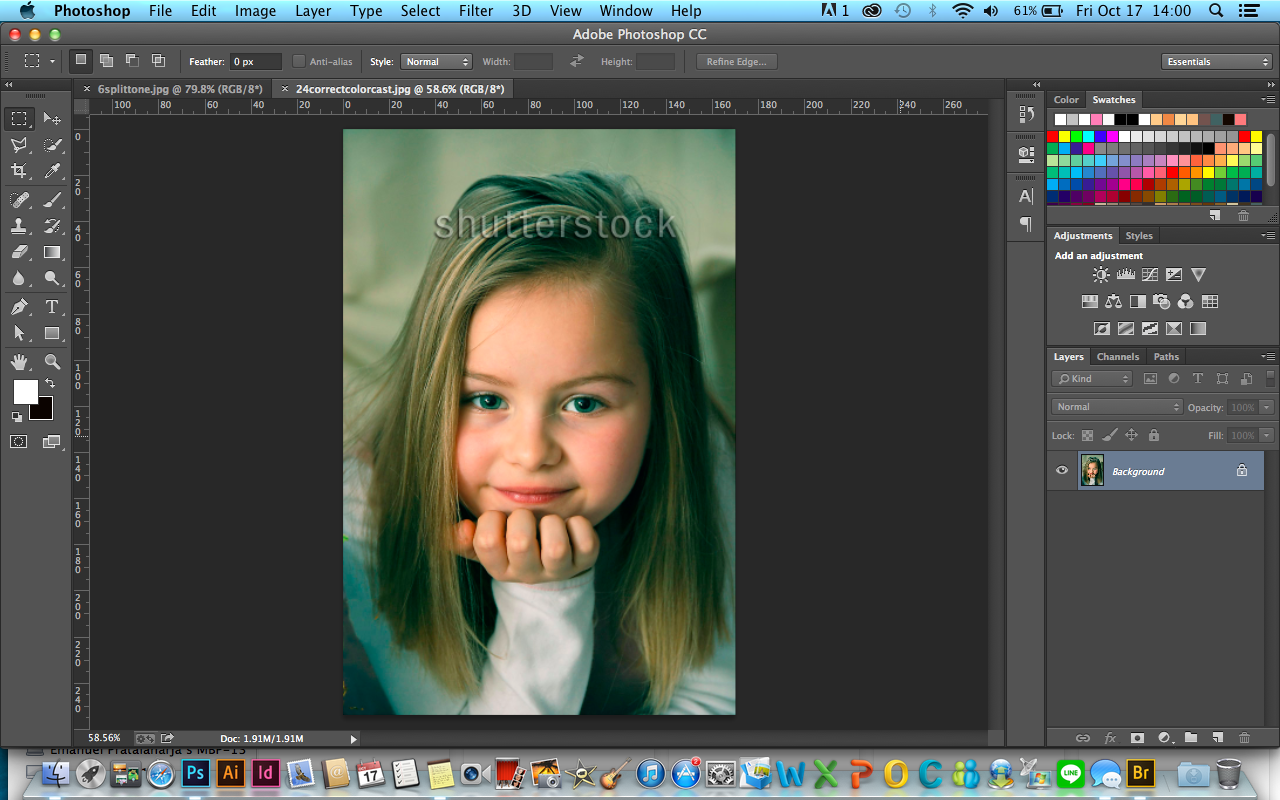 |
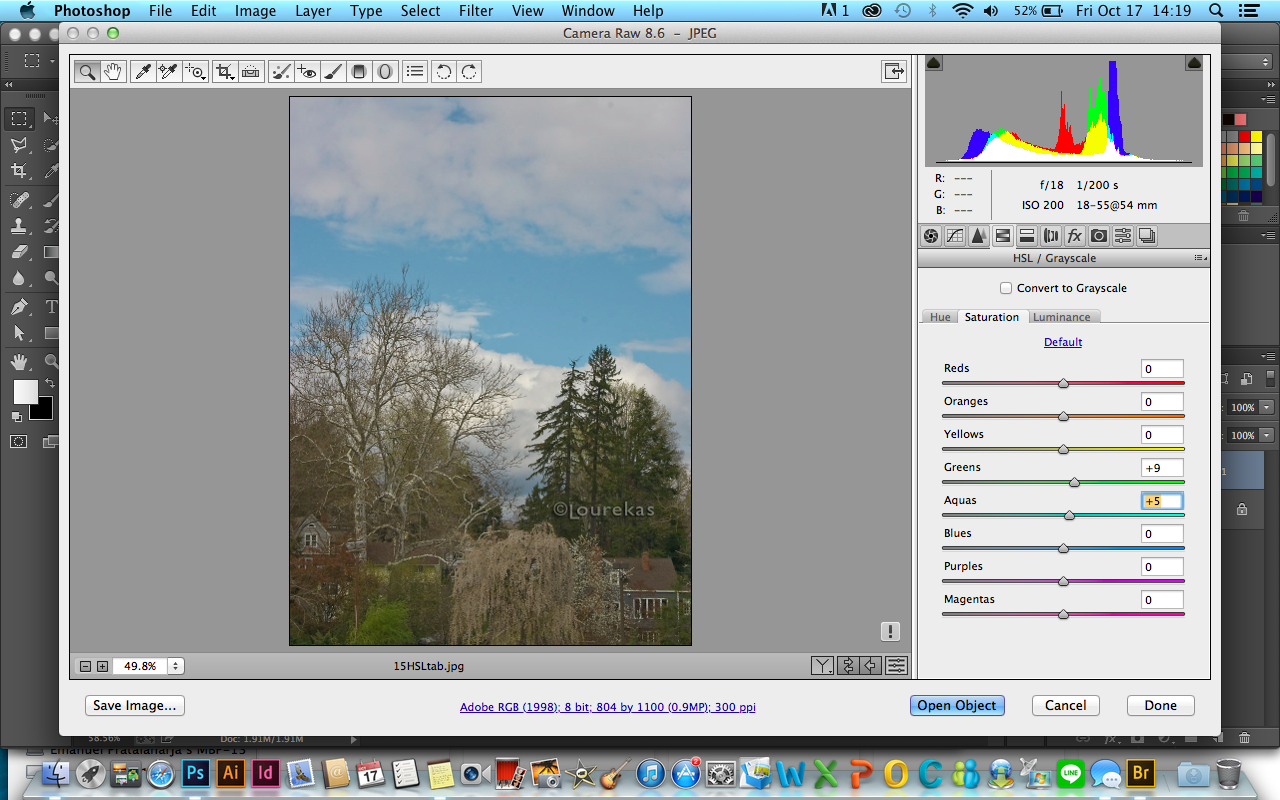
| This picture is a JPG file so when you double click on Bridge, it will appear like this. THE PROBLEM of this picture is there are too much green colour used and makes it less-natural. To solve this problem, click Colour Balance on Adjustments box! |
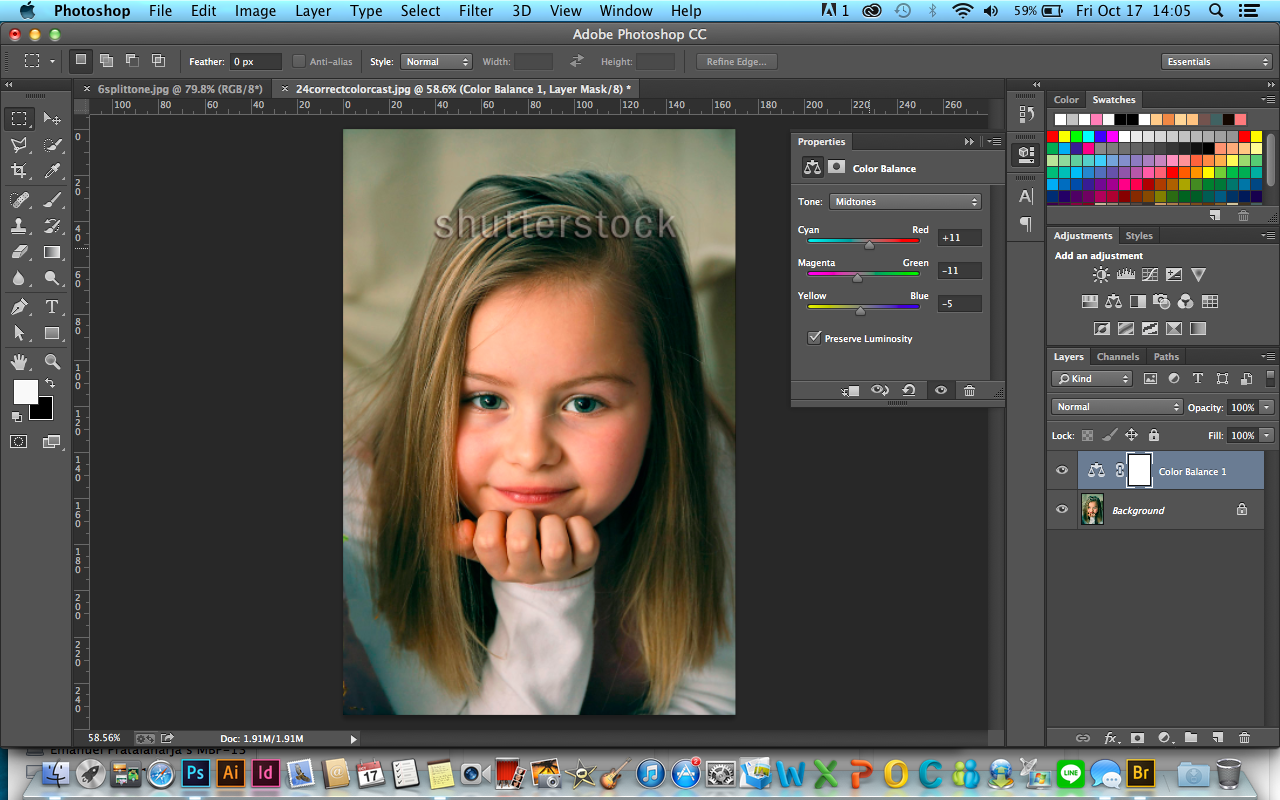 |
| Adjusting the midtones |
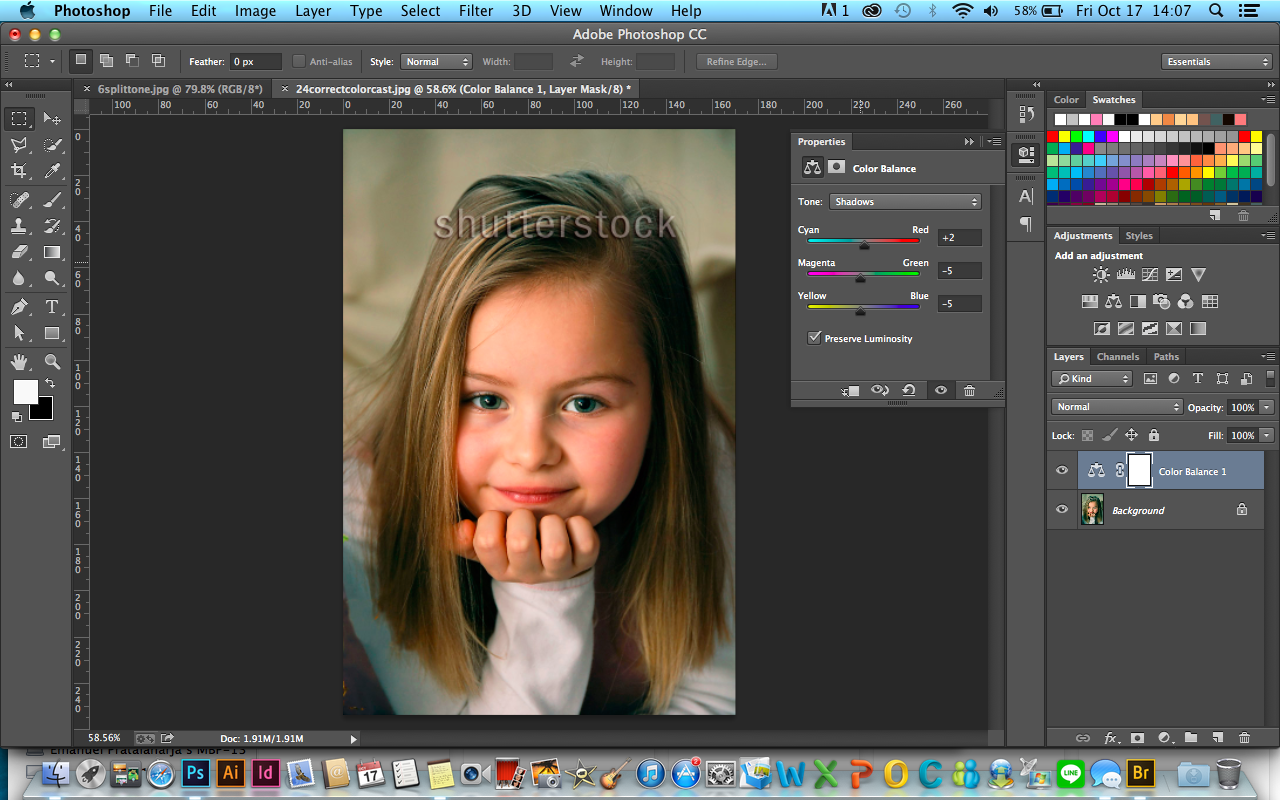 |
| Adjusting the shadows |
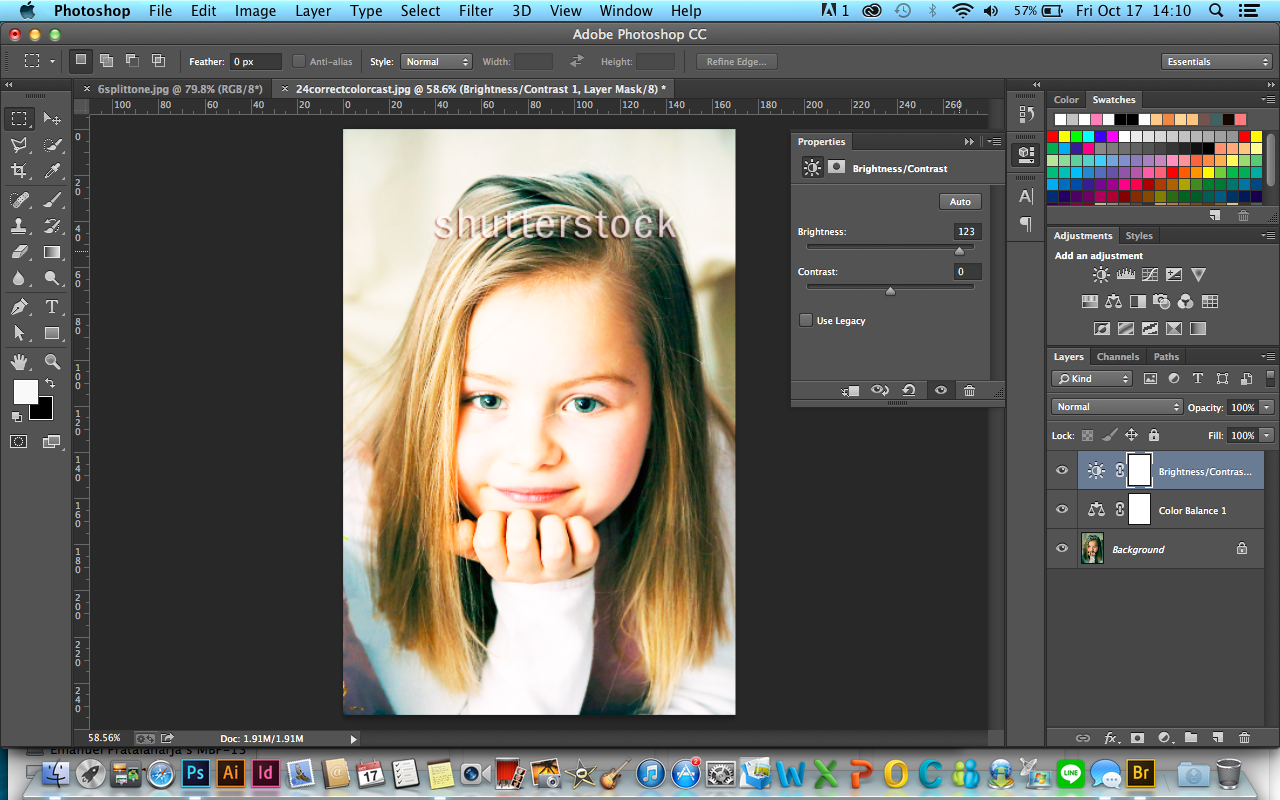 |
| Experiment with the Brightness/Contrast. If you make the image brighter, it looks less-contrast. |
 |
| Experiment with the Brightness/Contrast. If you make the image brighter, it looks less-contrast. |
|
 |
| Before |
 |
| After |
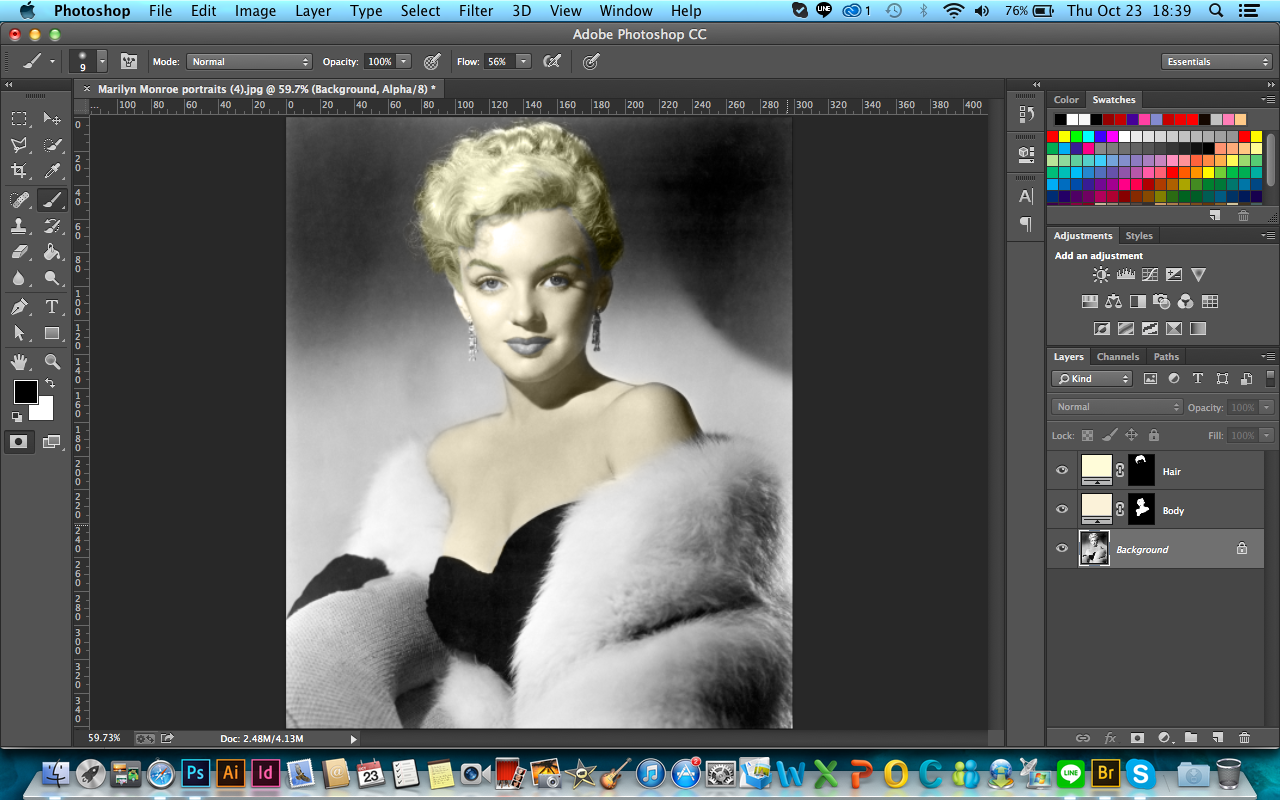
COLOURING B/W PHOTO
 |
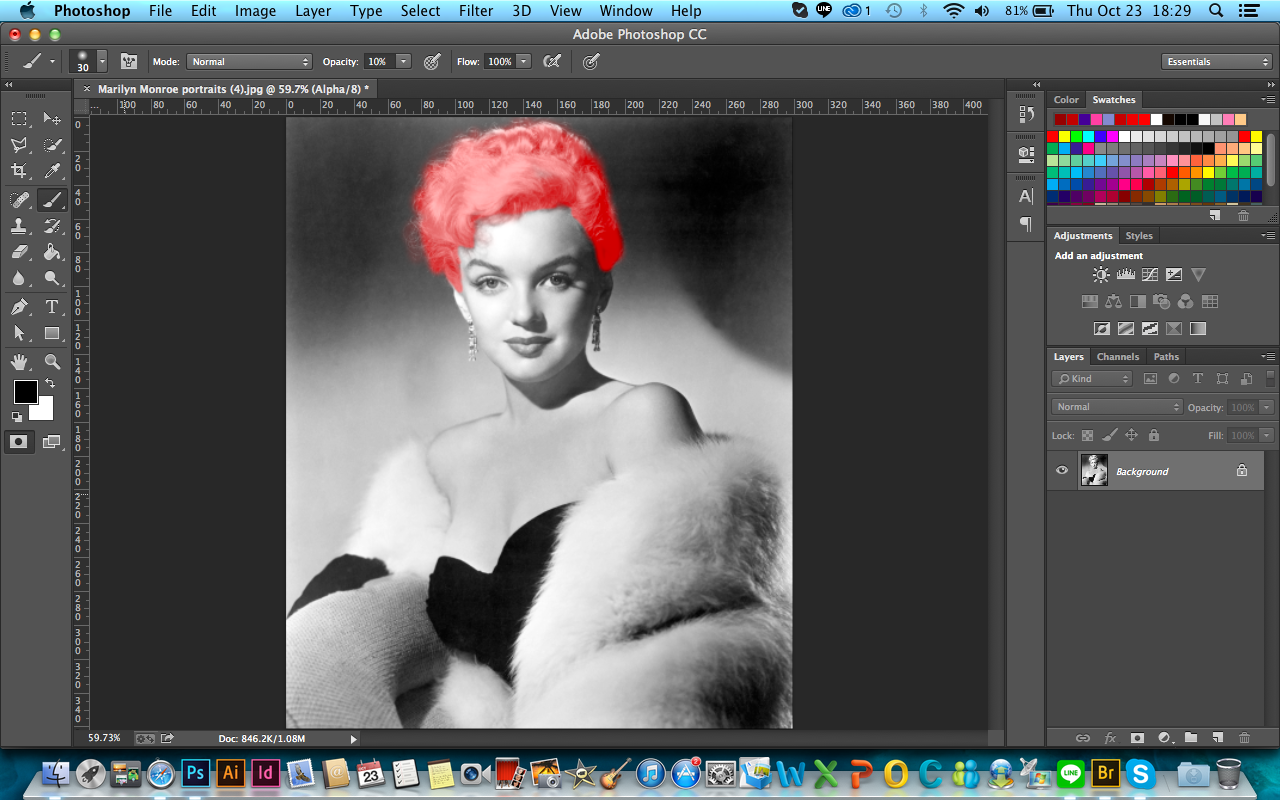
| Click Edit in Quick Mask Mode |
 |
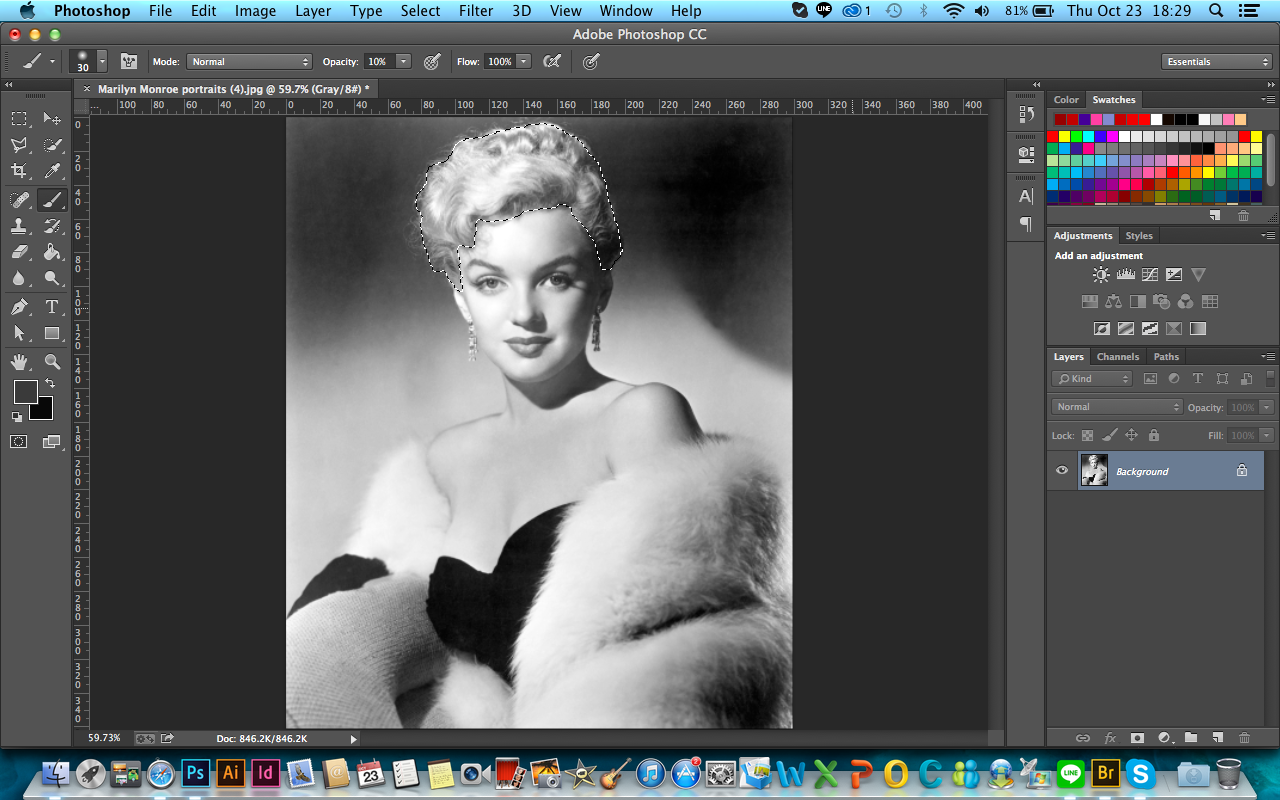
| Select the part that you want to add a colour. |
 |
| When it's done, click the first button again and it will select the part that you chose. |
 |
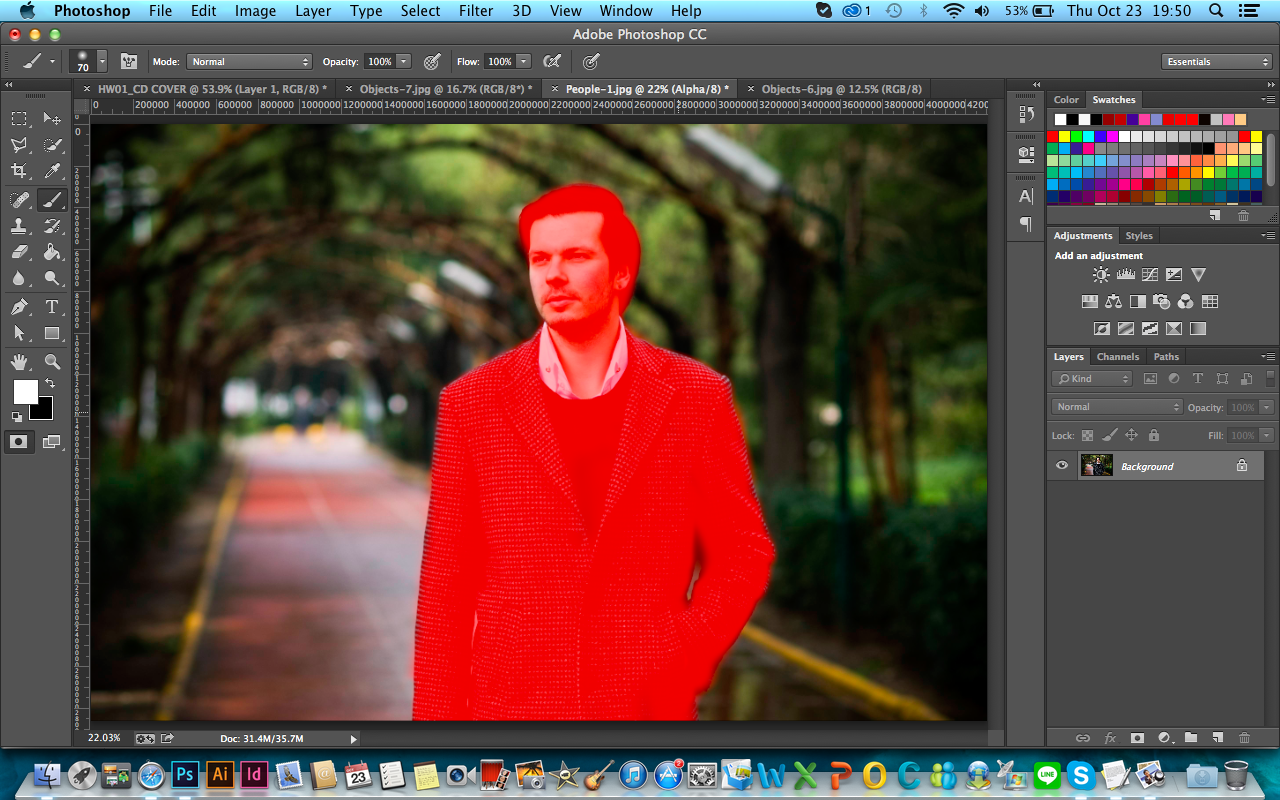
| Make the Alpha Selection to keep the selection saved. |
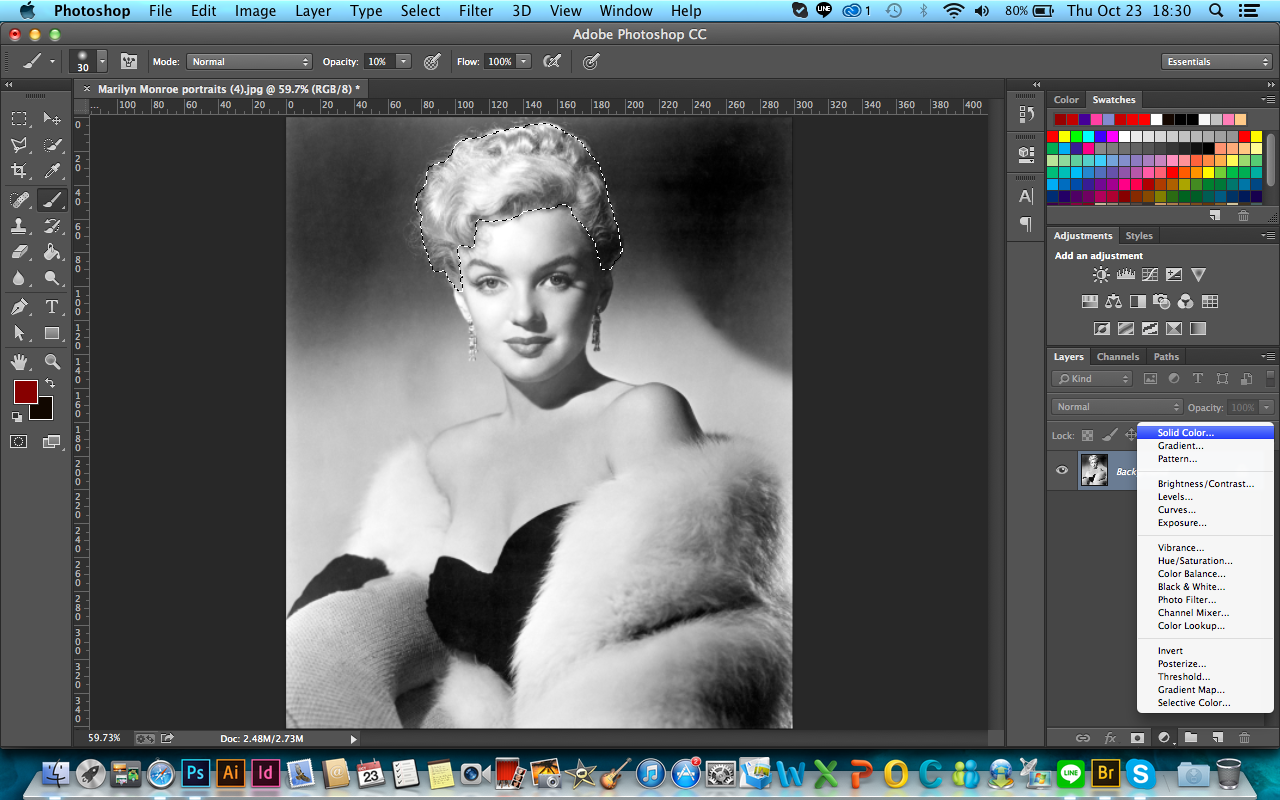 |
| Click that button, and chose the Solid Color |
 |
| Give a colour. |
 |
| Repeat the same step to another part of the image. |
.jpg) |
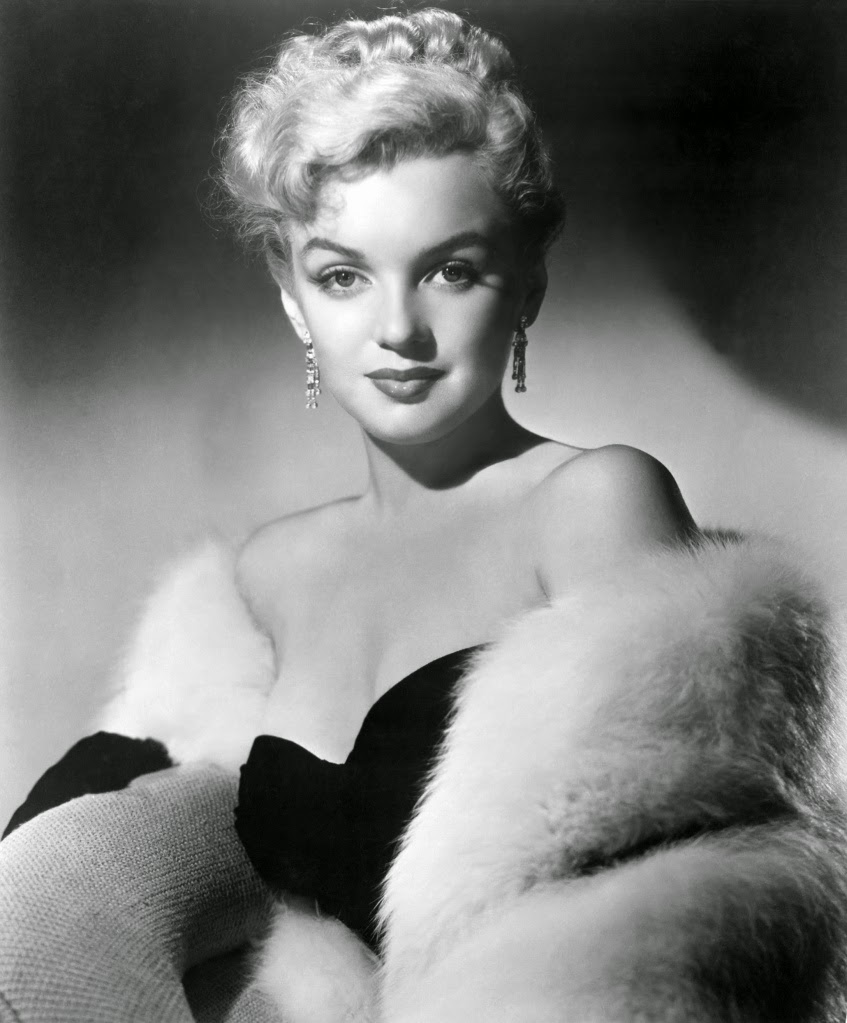
| Before |
_REV2.jpg) |
| After |
_REV3.jpg) |
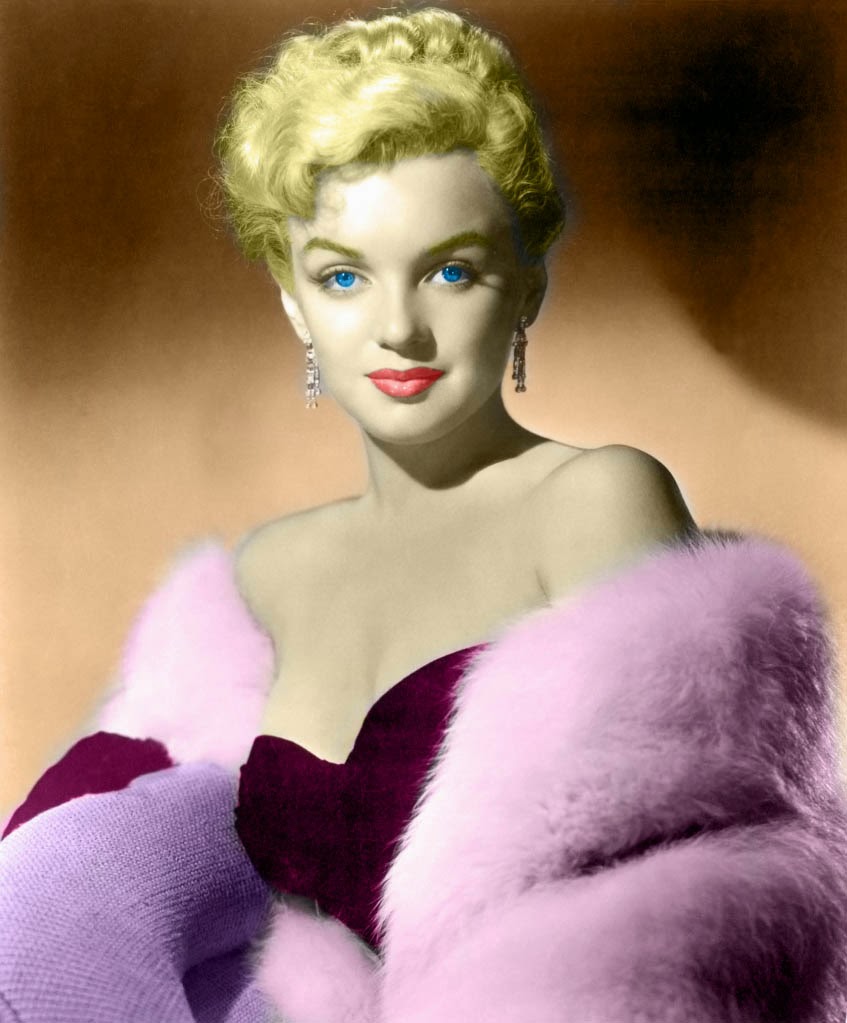
| Re-colour |
CD COVER
 |
| Select the image by clipping mask |


No comments:
Post a Comment