graphic design - music - photography


The posts are based on researches, the lecturer's materials, and my opinions.
Sorry if I made any kind of mistakes.

Welcome!

Wednesday, 4 December 2013

Moodboard and Logo Sketches

Wednesday, 27 November 2013

Today we presented our moodboards:
Image 1) limitless adventure 2) fusion 3) cullinary

Then i chose 2 topics, its about limitless adventure and fusion. After that i made some sketches for the logo:
(Image)

What kind of person am I?

Wednesday, 27 November 2013

Last week sir Em gave us a homework to do for the 2nd assignment. It's about Self Portrait Composition. The steps for brainstorming and concept development are:
  1. Survey (Question and Answer) from 1st and other point of view
  2. Mindmap
  3. Moodboard (pictures, colour schemes. typefaces, image making techniques)
  4. Draft visual
So we're asked to know ourselves from first and other point of view. Then i decided to do skype-ing with Berta and make a list for the questions + asking each other:
We accidentally used the same clothes!!! :O

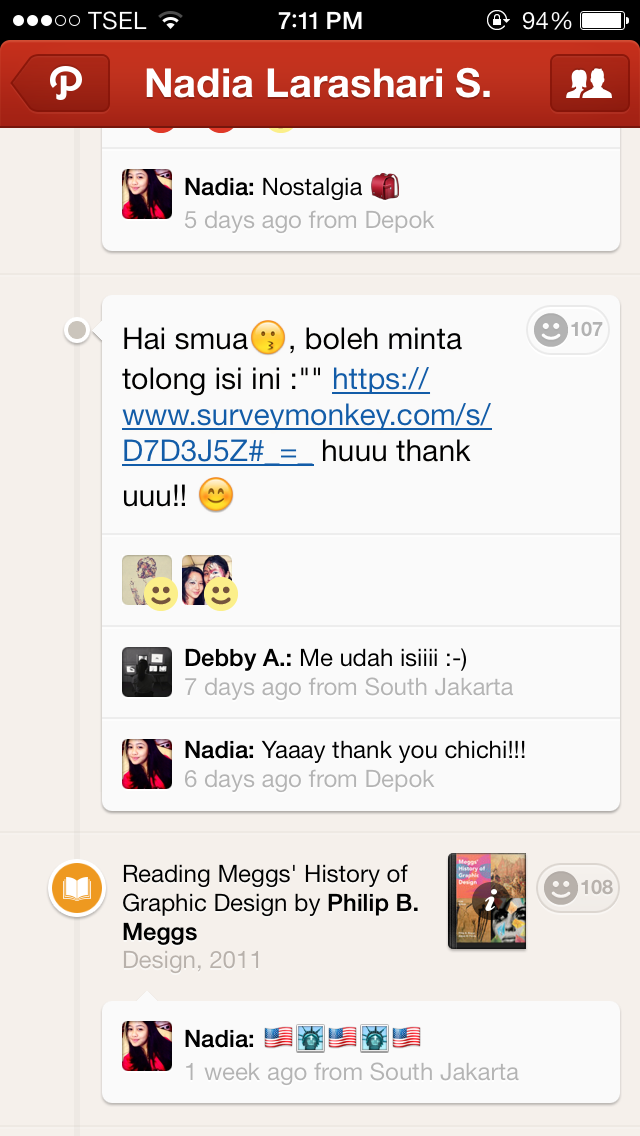
I also made a survey website: https://www.surveymonkey.com/s/D68YJNF so people can ask me freely and it's easier for me :) I shared it on facebook, twitter, and path.
and thank God!!! 23 responds :')


The survey:

My point of view:
(image)
(image)

The next steps are making the mind map and mood board ;)

Adobe Photoshop (pt. 2)

Wednesday, 20 November 2013

Today, sir Em was discussing our homework and taught us the steps and here is it:
tips for making the quick selection
do = zooming with zoom tool (cmd + +) and combine it with computer screen zoom (control + two fingers scrolling)
don't = zoom with zoom tool to much, because it makes the picture pixelated
 
make it looks natural, too much is not good :)
To make it looks like camera effect (the object on the front focus, and the background is blur) follow this steps!
You can edit it and make it looks more interesting 
Try another background ;-)

Stamp Tool
After that we learned about something new! How to use the stamp tool. Stamp tool makes the "distracting" image disappear.
Select the image that you want to edit using pen tool 
Double click the path and it will appears the selection
Using the stamp tool, delete the distracting image. 
Tada! the glass looks there is no the other glass behind this glass
Then we tried to edit using another image
Using the adjustment tool > levels, make it looks more contrast so it's easier to make the selection 
Put the pumpkin juice picture and do not panic if the juice looks black and white. Just click Image > Mode > RGB Color 
Make the background! Mine using gradient
I want to change the man's hat style by using this red wooden wall, so select the image then copy it
you also have to select the hat area. click Edit > Paste Special > Paste Into

Another stamp tool exercise:


Liquify
The use of liquify in photoshop is click here, di or looks more nice, so open the file:
Click Filter > Liquify
It will appears like this (Before)
I want to tidy up his clothe so i use that tool
It looks tidier
After
Before
After 
I used another tool, pucker tool.
Before
After
I made the man's face looks like a naughty old man :( 
Hihi I also use the stamp tool to grow the man's hair :P