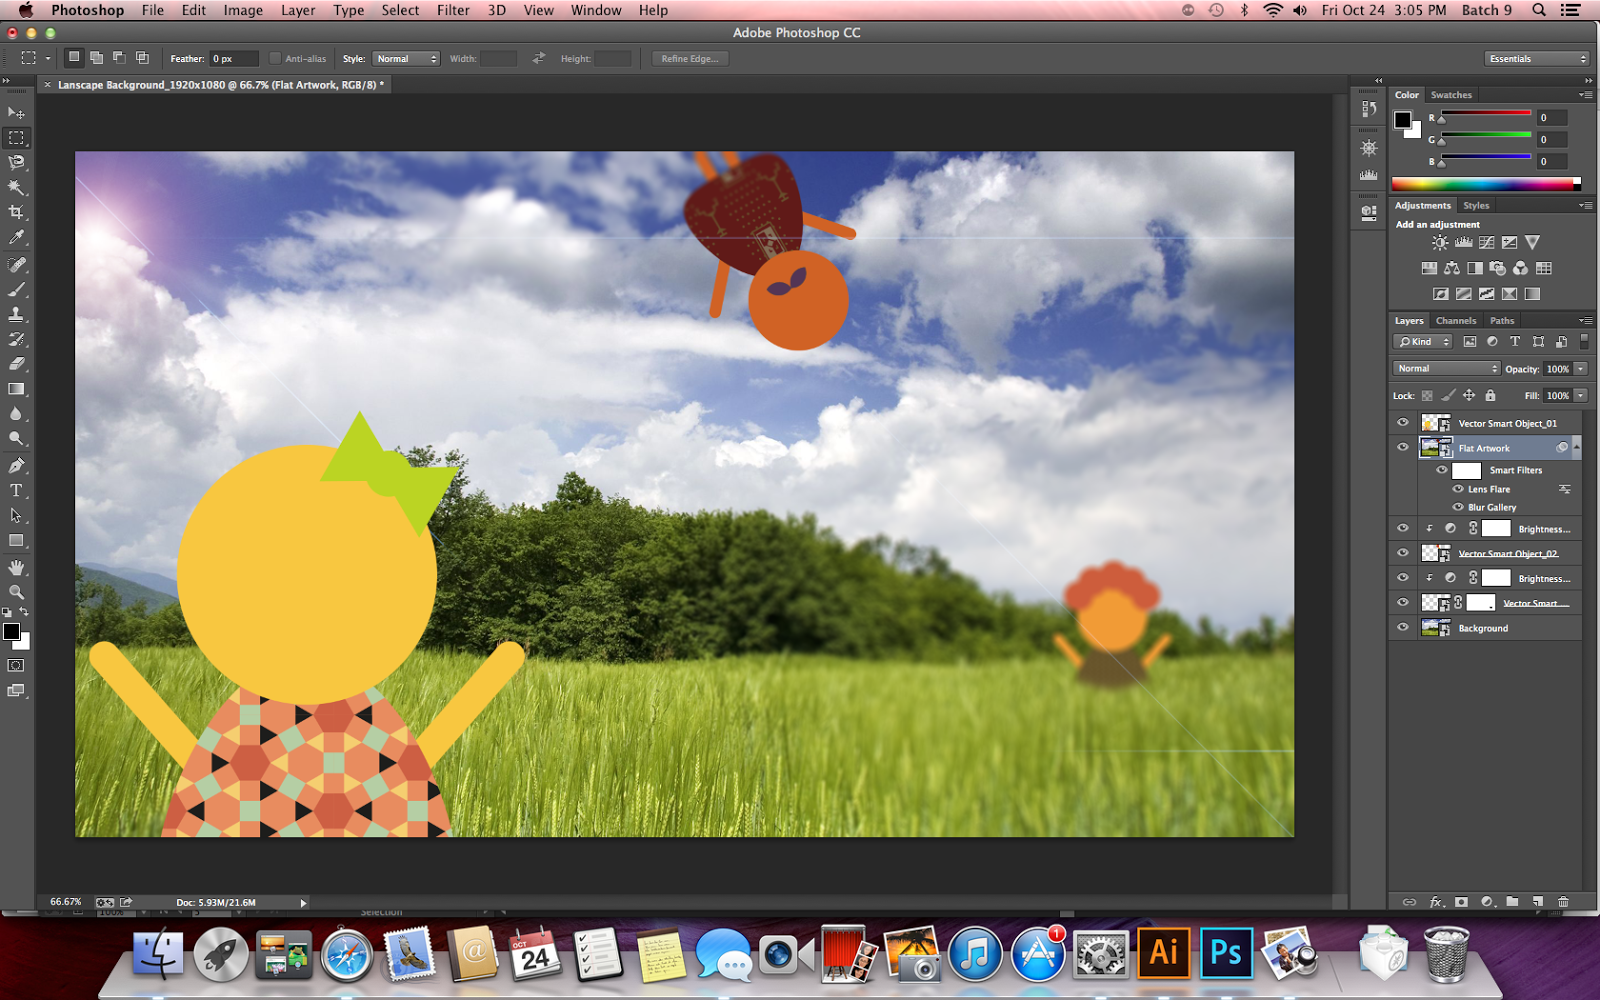
Today we learnt to combine vector and raster. We used 2 applications, Adobe Illustrator and Adobe Photoshop. The exercise is to make a desktop background.
 |
| Make the characters on Adobe Illustrator |
 |
| To make it more decorative, you can fill it with the available patterns |
 |
| Change the Canvas Size into desktop size |
 |
| Don't forget to convert to smart object |
 |
| Copy the characters from Adobe Illustrator and Paste it on Adobe Photoshop. Then it will appear this options. Choose Paste as Smart Object |
 |
| Place the characters |
 |
| To delete the leg, click add vector mask |
 |
| It looks more natural if the leg is gone because it's like walking through the grass |
 |
| Give a depth to make it more realistic by adjusting the brightness and contrast |
 |
| Create a layer and Paste in Place |
 |
| The picture will become one unity (one layer) |
 |
| Make it as a smart object |
 |
| Give some Blur filter |
 |
| Field Blur |
 |
| Iris Blur |
 |
| Tilt-Shift |
 |
| You can add an extra. For example a Lens Flare to make it more dramatic |
 |
| Or maybe a vignetting effect by adding Gradient Fill |
 |
| After that, select the entire canvas and do a copy merge! |
 |
| Create a new file |
After done with this exercise, we moved to another thing which is preparing the next assignment. So, we will make a character design that represent ourself. To have another point of view, I made something like survey about what others think about me. And here's the analogy.
Start with this sentence "If I were a _____ I am a _____"


No comments:
Post a Comment