Wednesday, November 6th 2013
Hi, good afternoon guys!!!
Yesterday, we started to do our first assignment, the assignment is making the postage stamps that consist of Indonesian Landmarks. The steps are:
1. I was searching for some Indonesian landmarks and stamp design images:
 |
| Bedugul Lake, Bali |
 |
| Mount Bromo, Malang |
 |
| Gedung Sate, Bandung |
 |
| Garuda Wisnu Kencana (GWK), Bali |
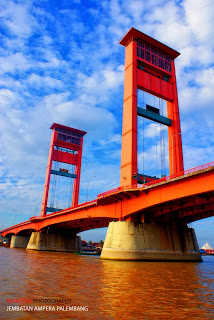 |
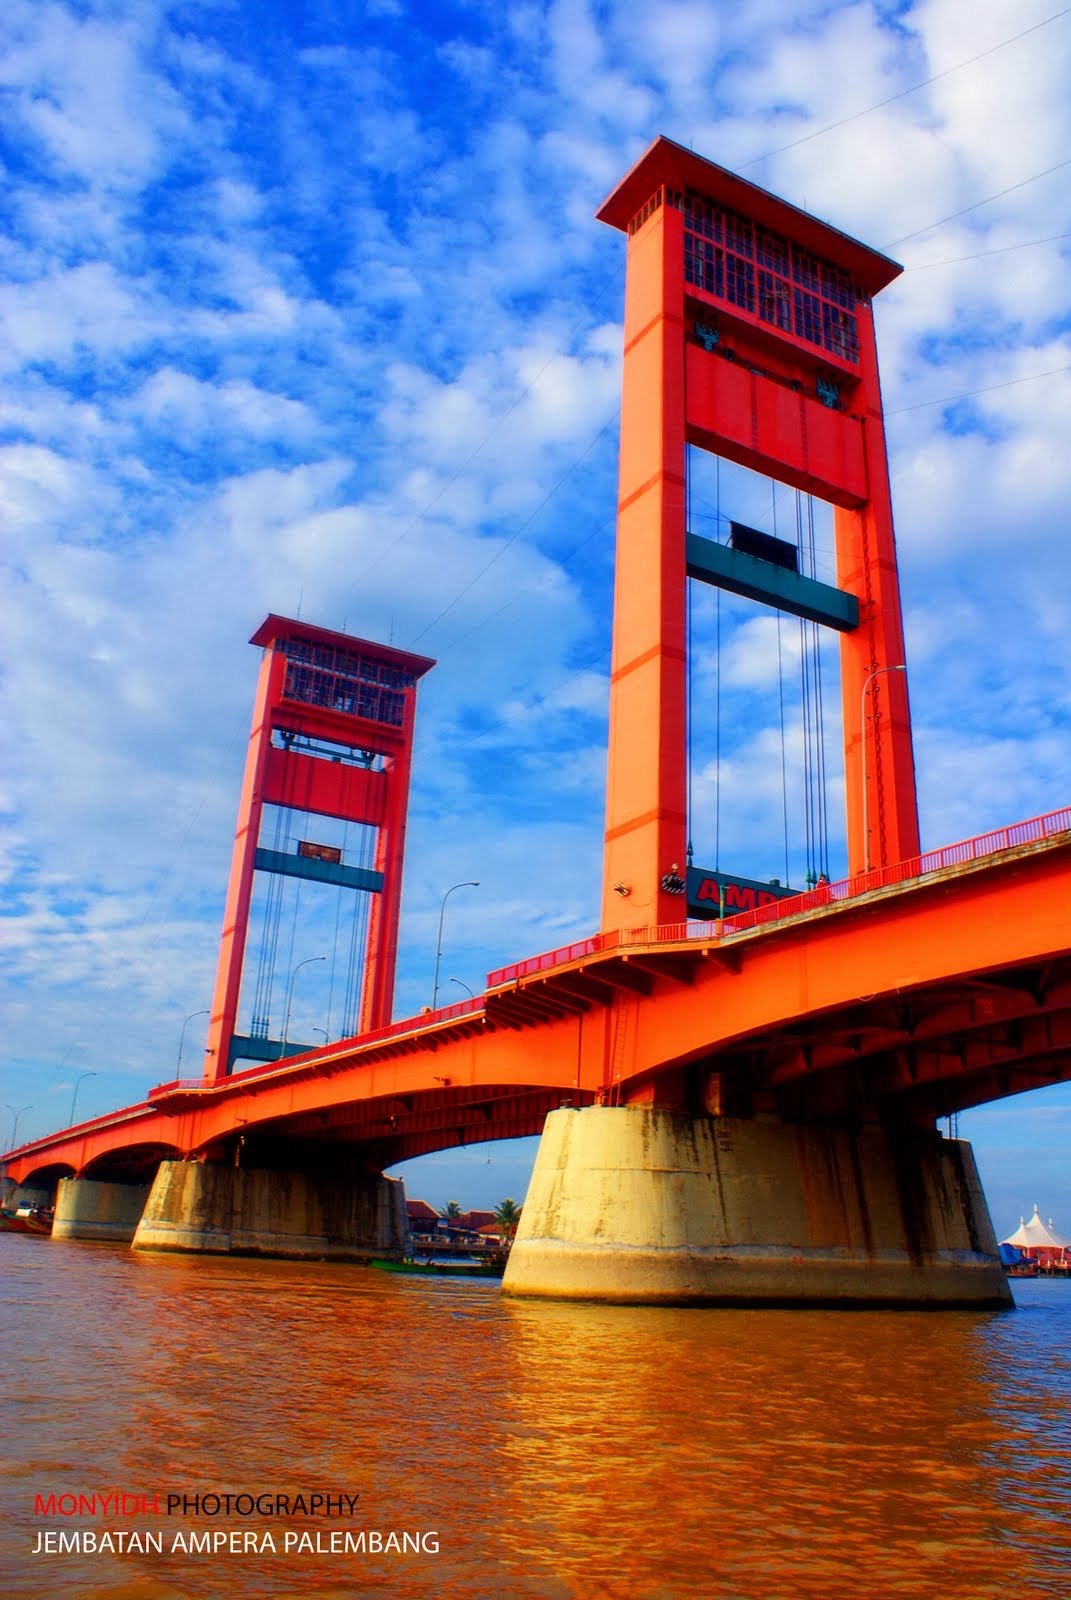
| Ampera Bridge, Palembang |
 |
| National Monument (Monas), Jakarta |
 |
| Rumah Gadang, Padang |
 |
| Rumah Toraja, Toraja |
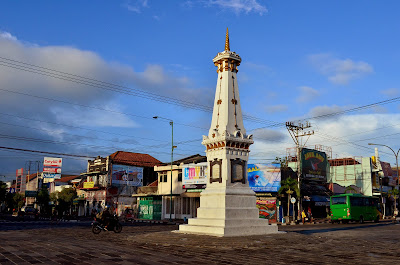 |
| Tugu Yogya, Yogyakarta |
 |
| Candi Borobudur, Magelang |
2. Lets get started! I chose Monas cause it's my first experiment, so I chose the easiest one. Click File > New
3. Make a postage stamps rectangle (actual size) 20x25mm. Click Rectangle Tool and click on your artwork and it will appear this box:
4. Make one circle and copy it. After that transform it. Click Object > Transform > Transform Again or Cmd + D
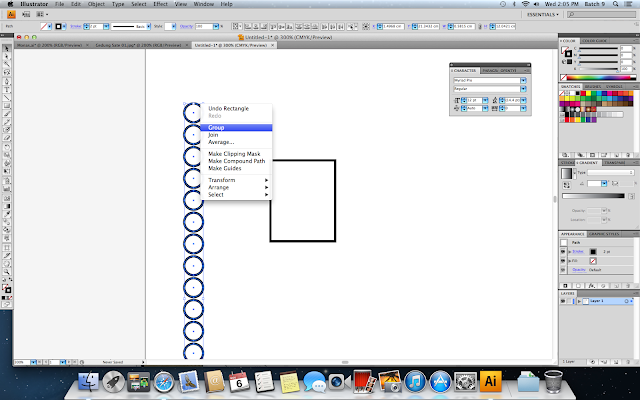 |
| don't forget to group it after you got 18 circles :) |
5. Copy it (14x18circles)
6. To make it like the real postage stamps, do this! Go to Windows > Pathfinder
7. Then click Minus Front
8. Gr8! Then, start to make the margin, using 17x23mm rectangle
9. Make it as guides line by clicking View > Make Guides
10. You could copy it into 4 series.
11. I tried to put texts by clicking Text Tool on the left column
12. Lets start tracing! (Click here to know how to trace)
 |
| I started to try colouring the Monas |
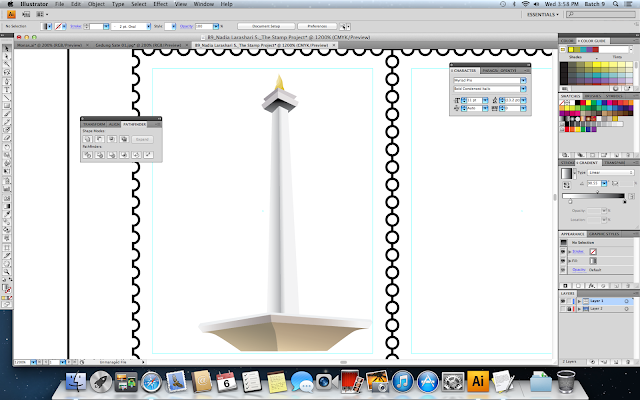 |
| Tada! |
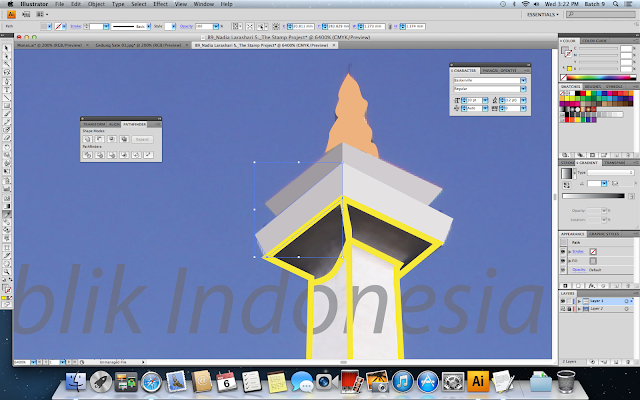
13. I didn't really satisfied with my Monas, so I fixed it. Things that I've fixed were the torch and the shadow.
 |
| I tried to make the Monas' torch |
14. I also changed the Monas' colour hehehe to make it unordinary ;-P.
Well, cause I only want that Monas' part, I did this step. So, click your guide line on your artwork, go to View > Guides > Release Guides
15. Arrange your guide line to front.
16. DO NOT PANIC! Heheheheh oh ya! make sure that you've grouped your Monas! Then, click your Monas go to Object > Clipping Mask > Make.
Hihihi! Done with my Monas. I only have to add the texts and..... (to be continued)


No comments:
Post a Comment